Here we go!
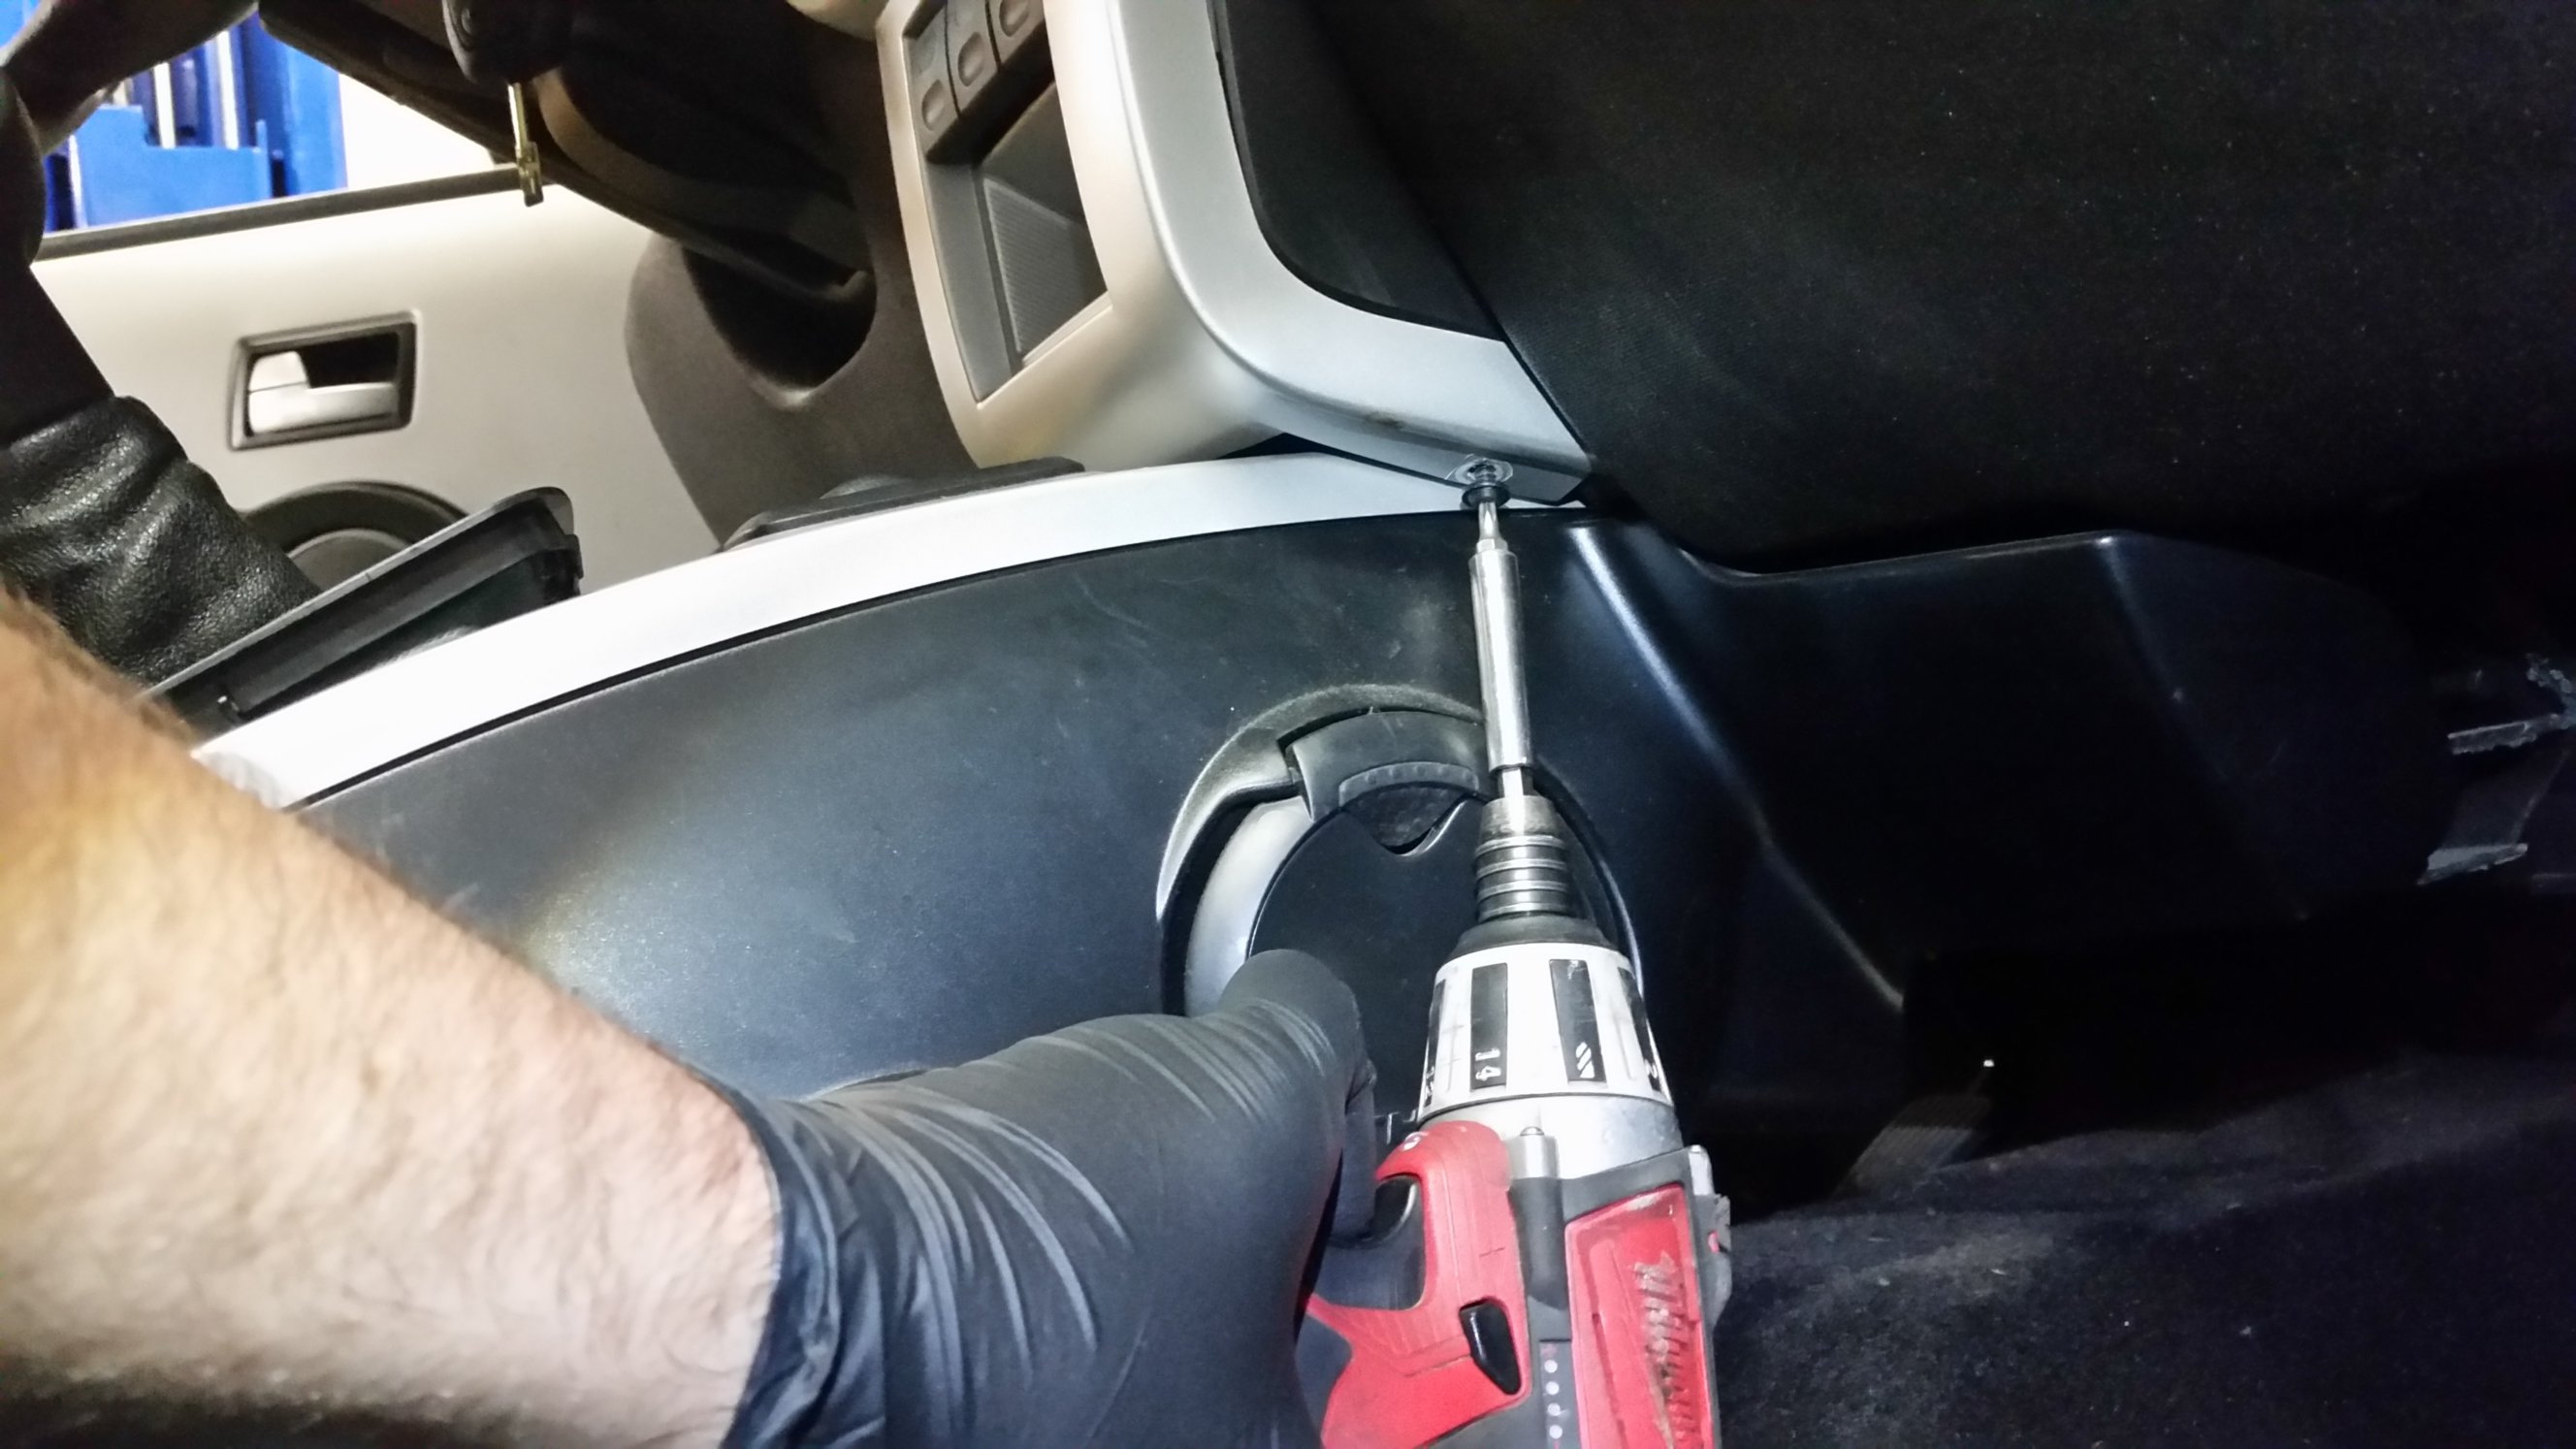
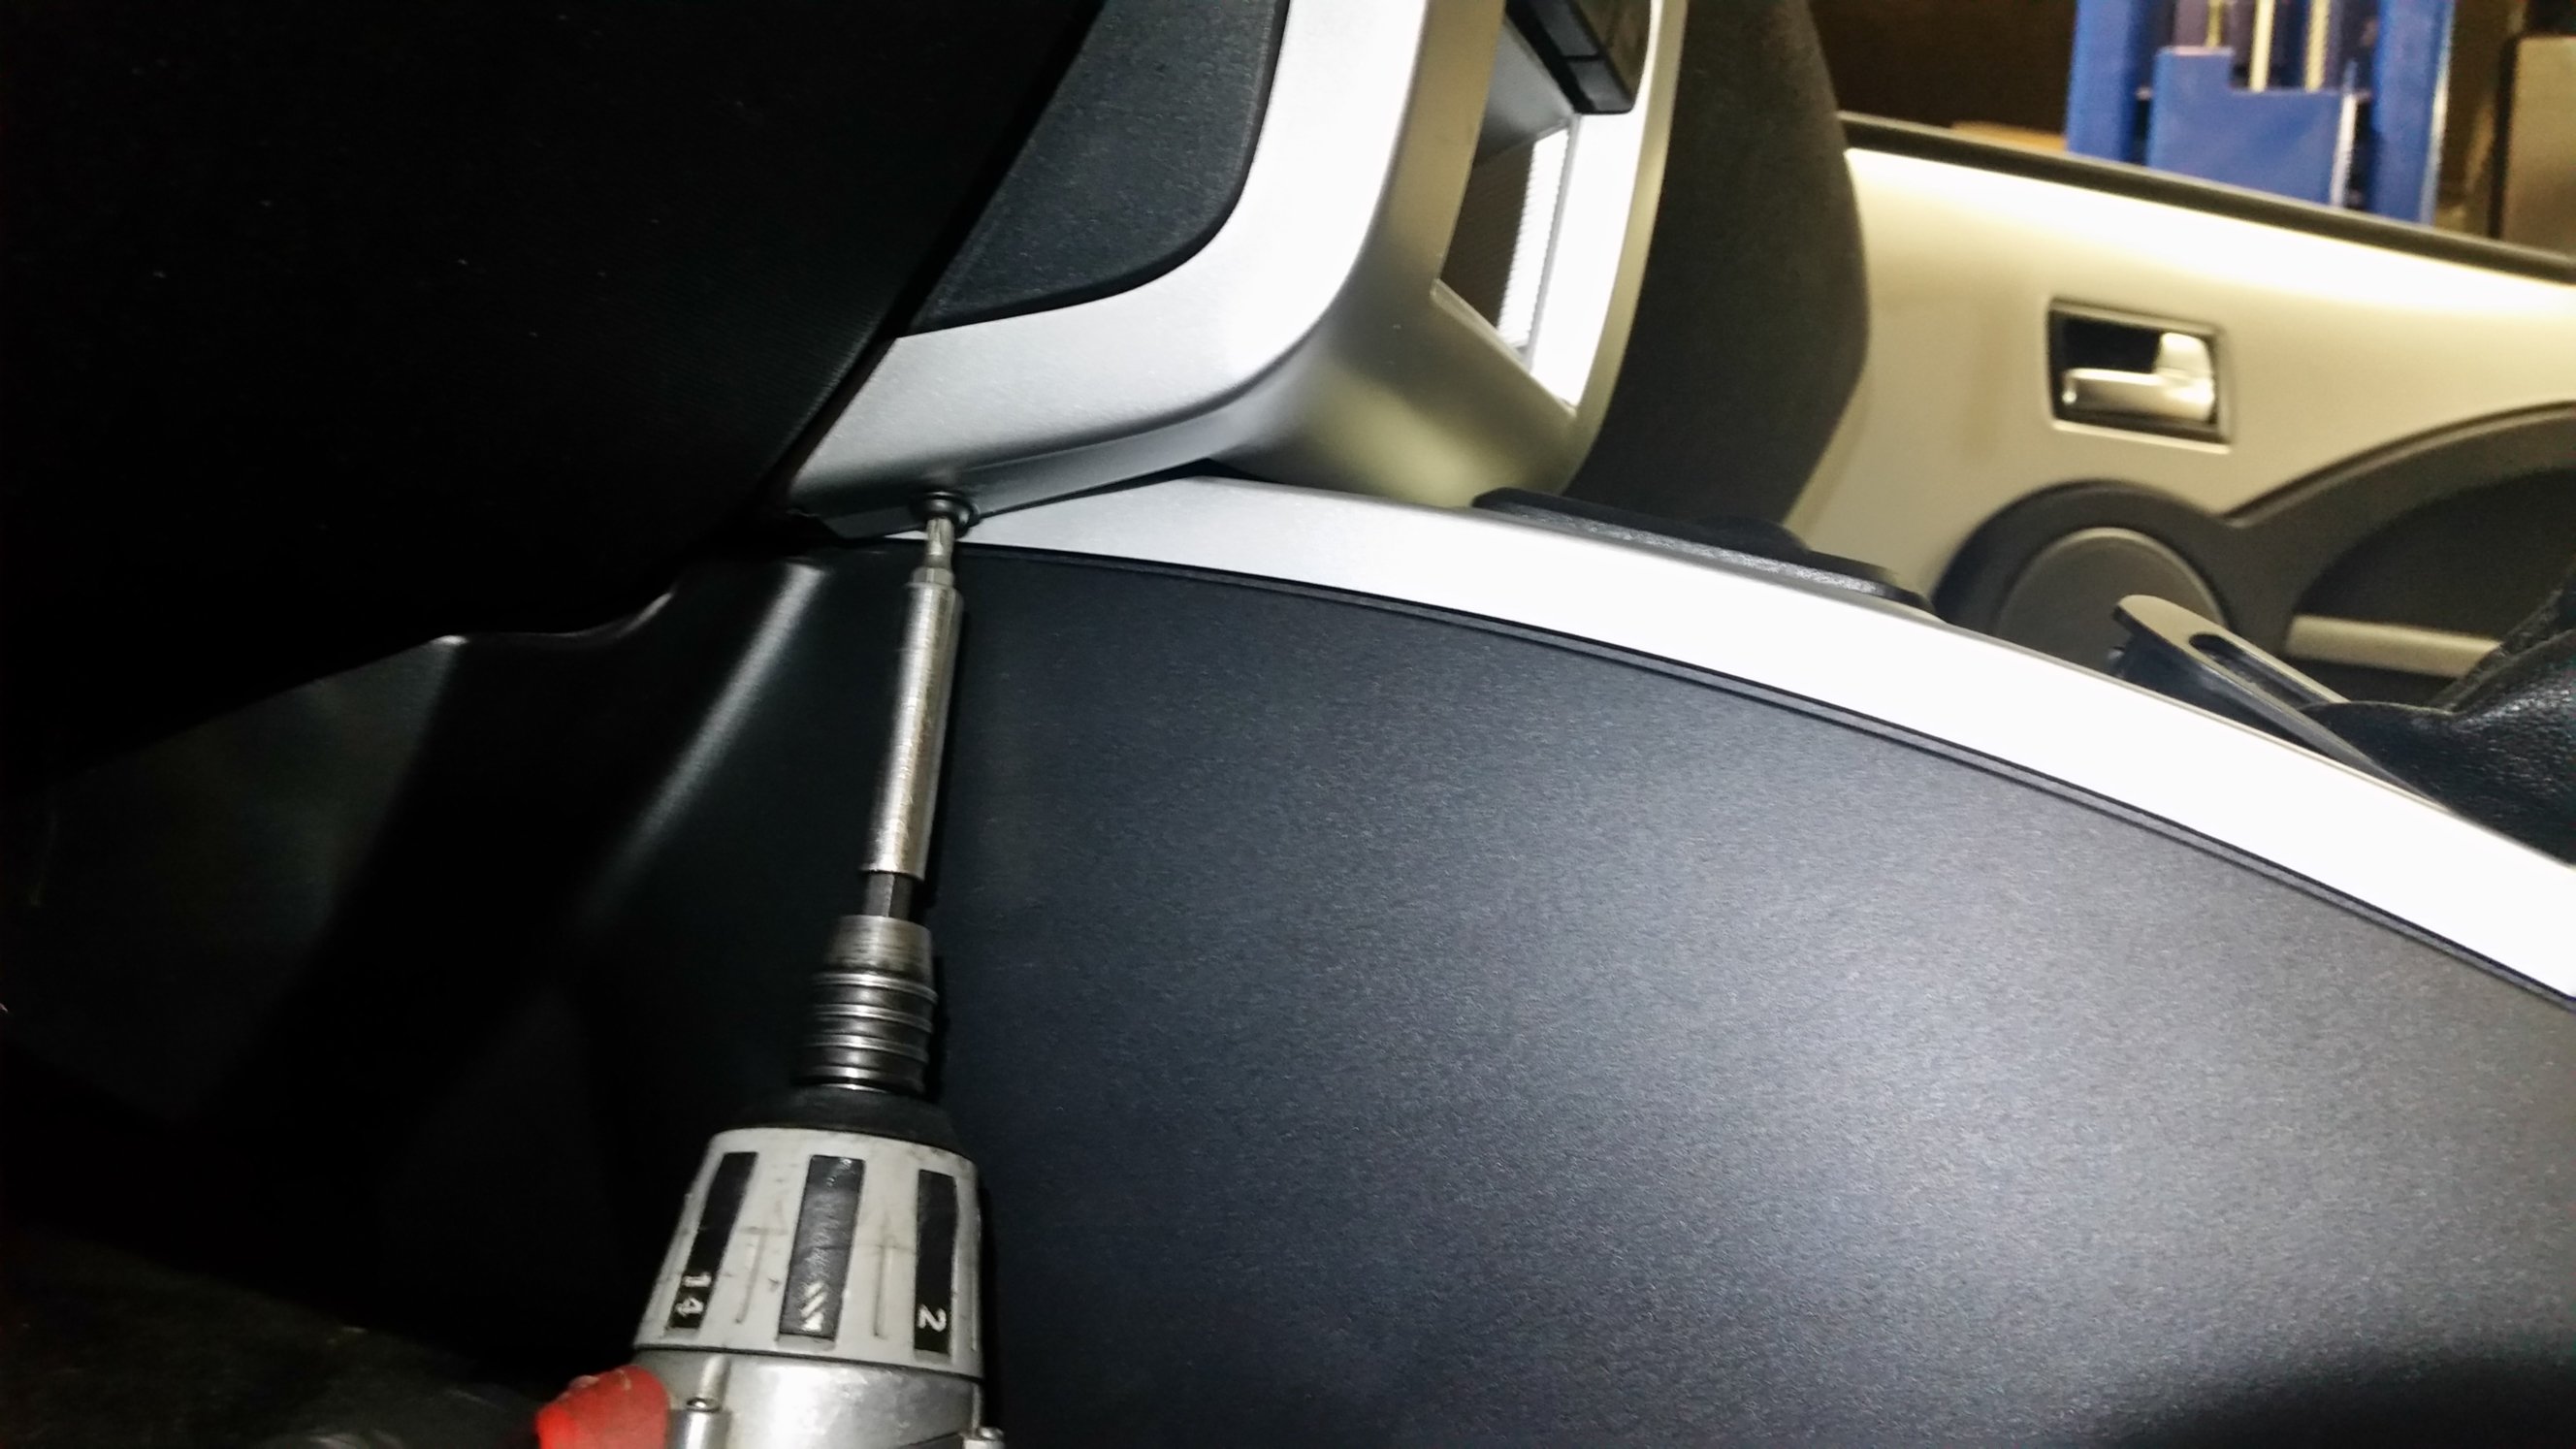
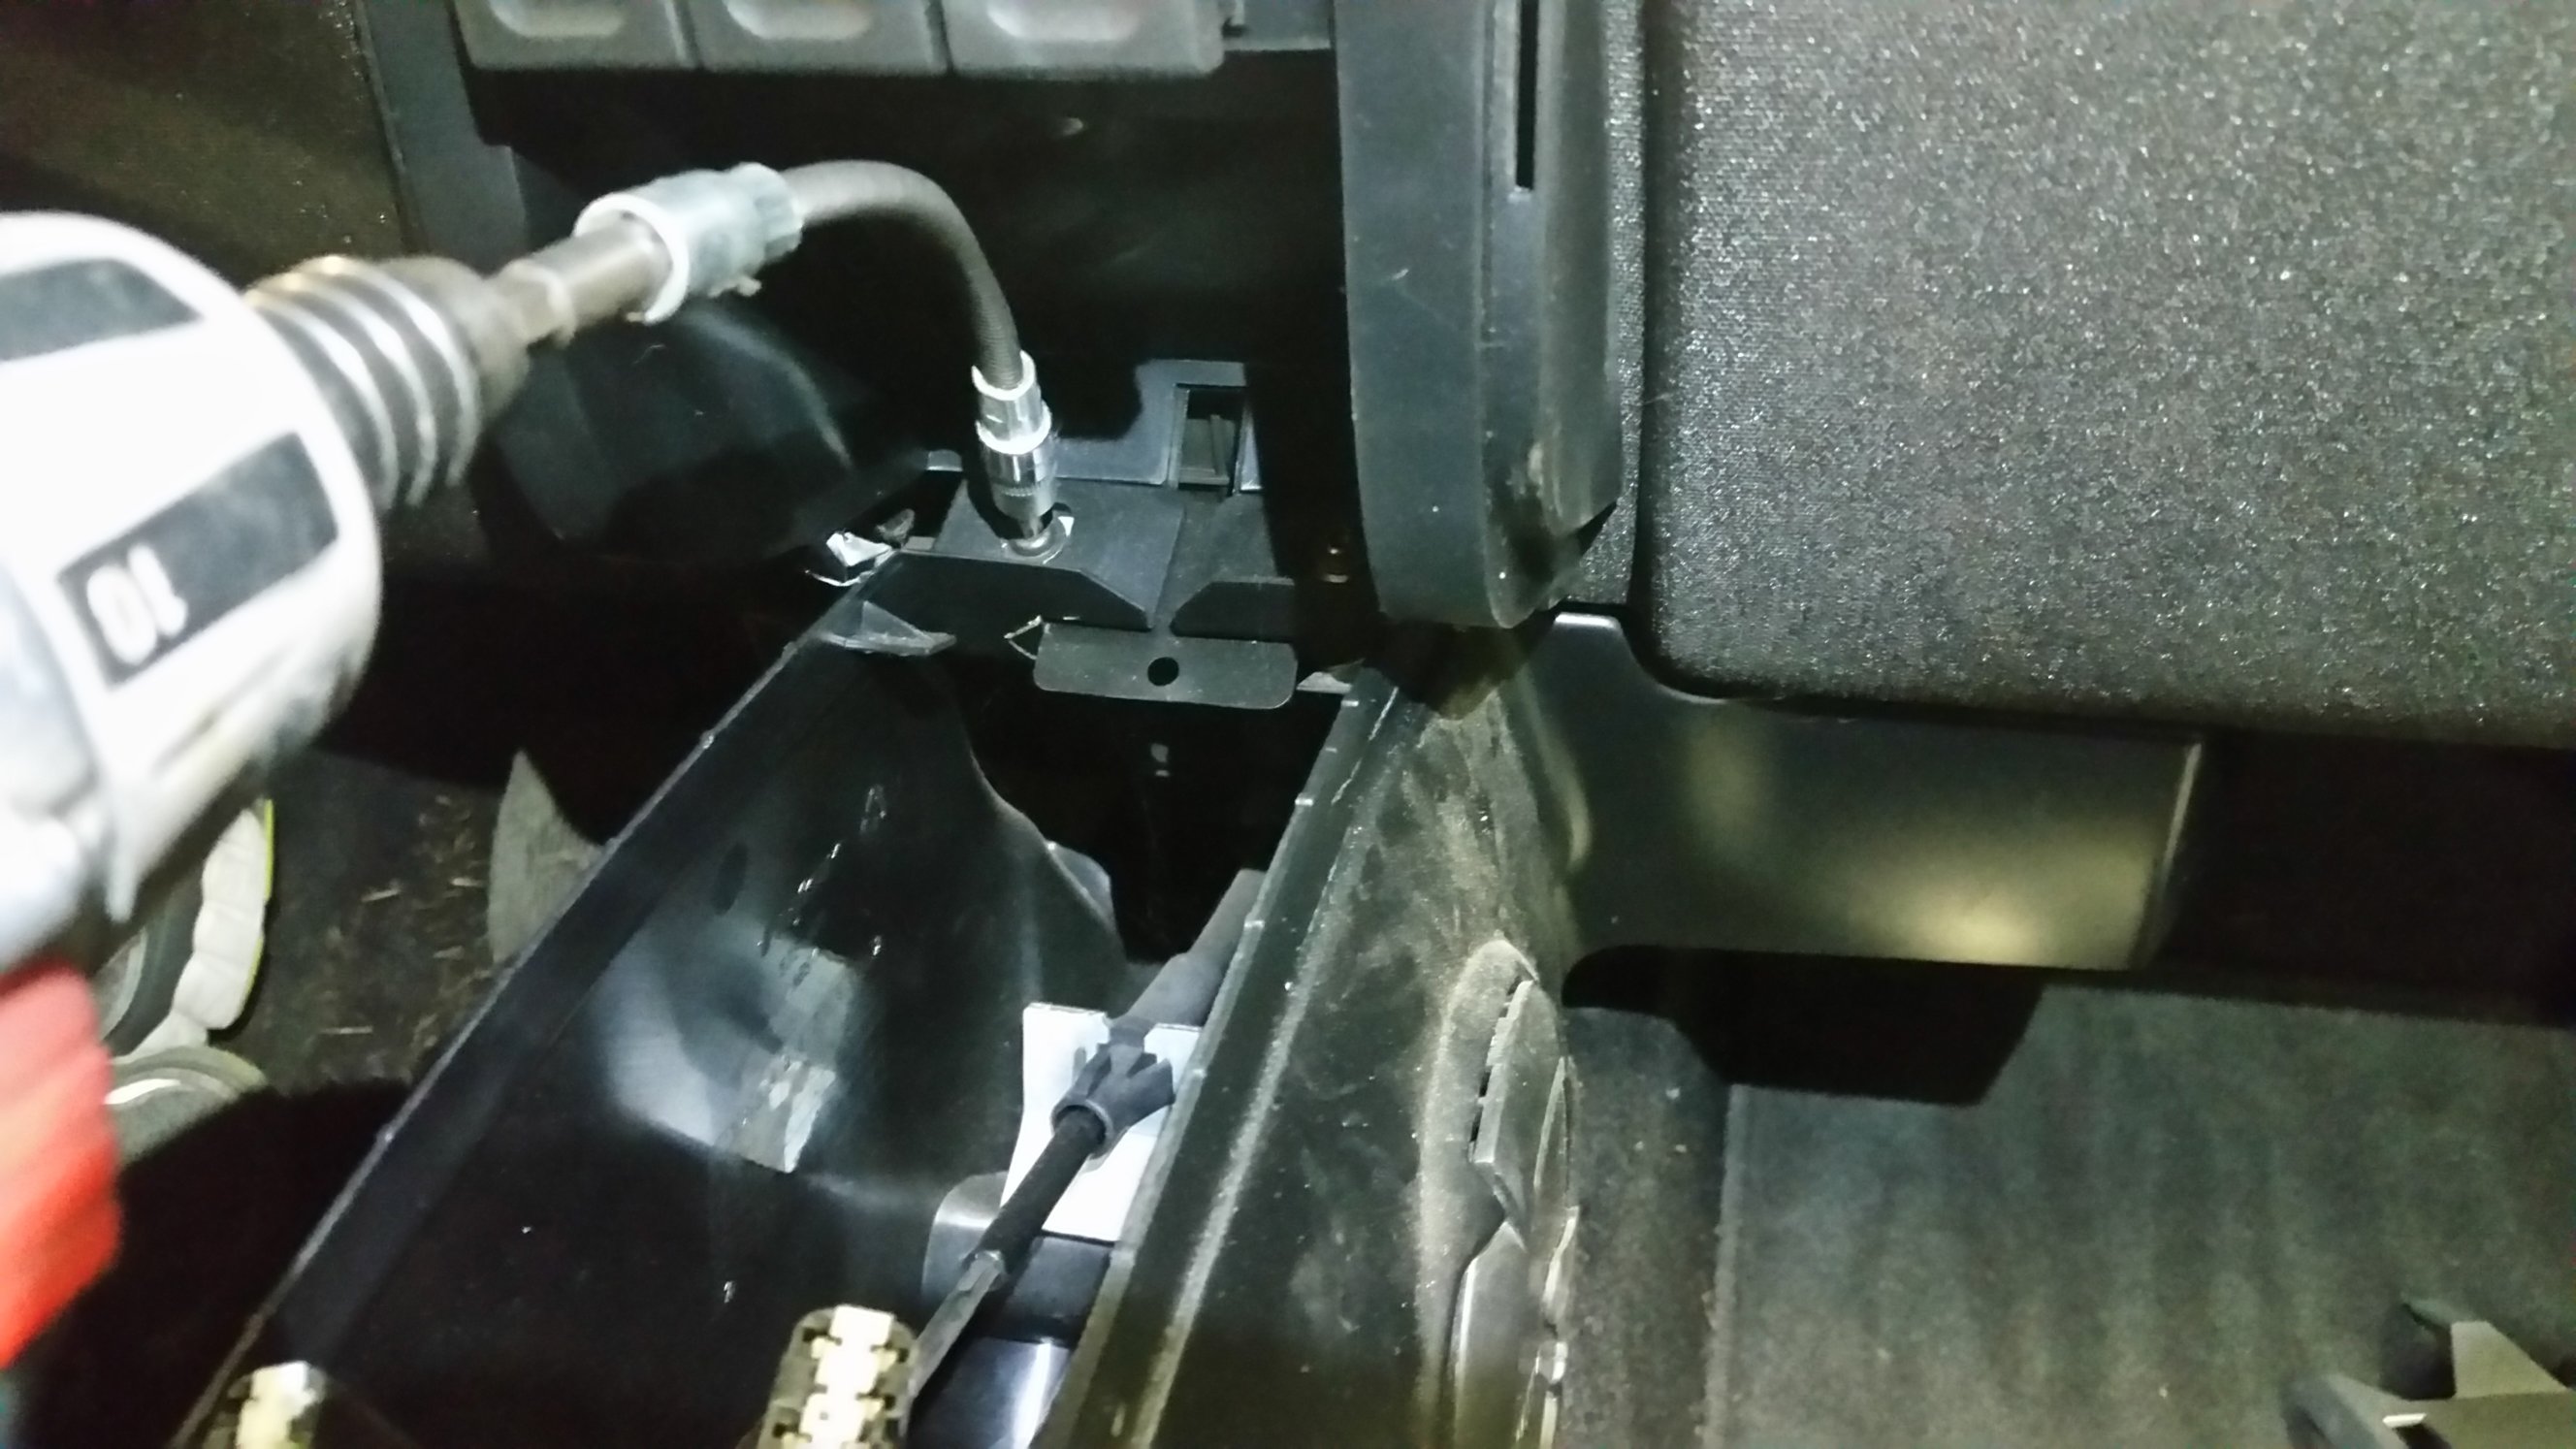
The basic tools you need for this job include Torx 20 and 25 bits along with a flexible extension or some other means of getting to some screws in awkward places. I also use a plastic body clip tool/wedge for prying some pieces apart. You could also use a screwdriver with a bit of electrical tape around the end to prevent scratching plastic parts. I would also strongly recommend a headlamp or a friend with a flashlight. You might also need to cut a zip-tie or two, so diagonal pliers work well for that, and it’s a good idea to have a few new zip-ties to replace the ones you cut.
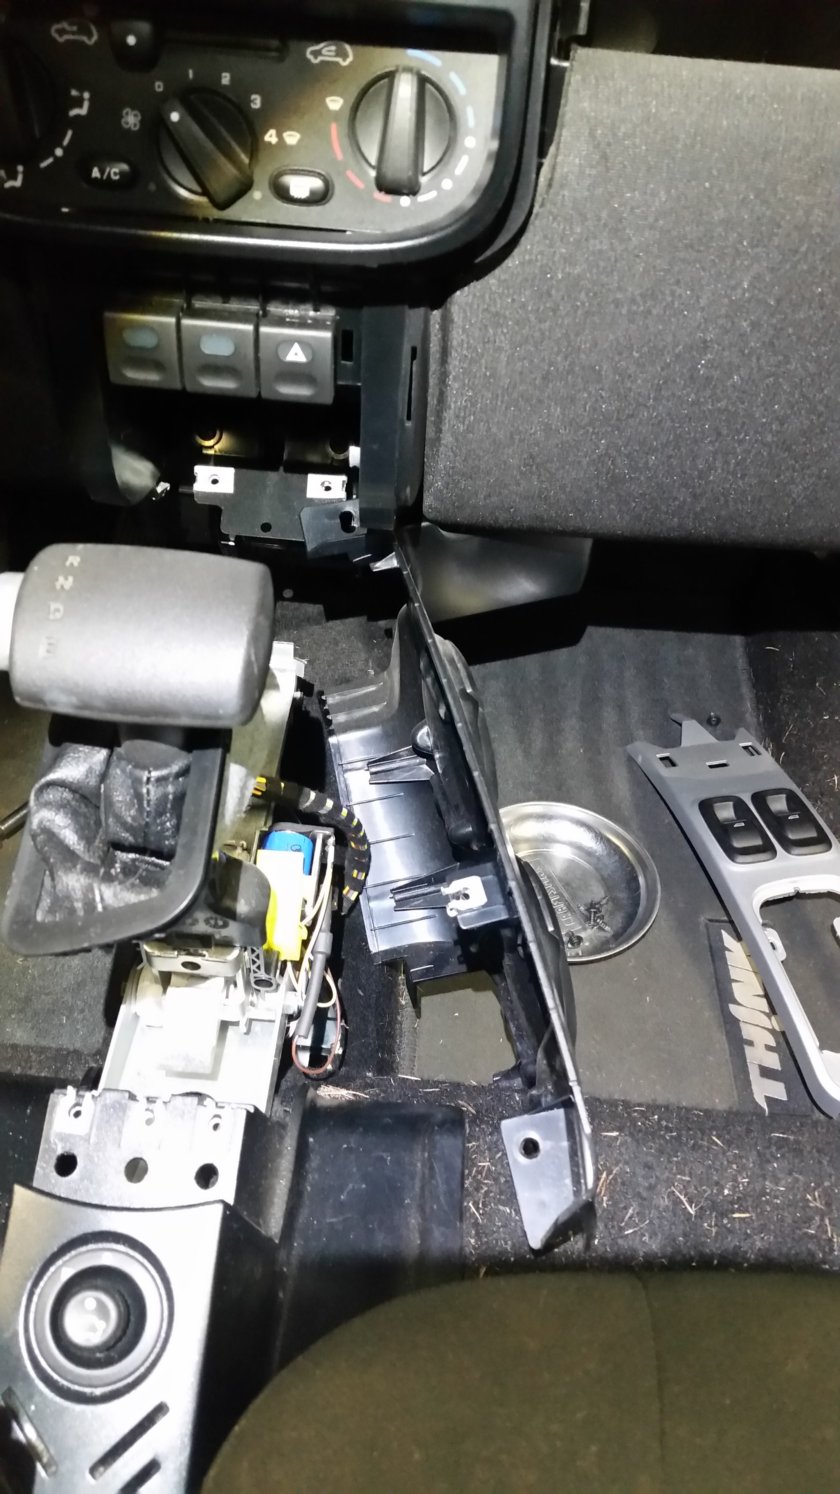
The first step is to adjust both front seats as far back as they will go. (Not the angle of the seat back– the position of the whole assembly in its tracks.)

Wait! The first step should always be making sure the blower is turned off. We’re going to be cycling the key on and off a few times, so just keep the blower turned off for the duration.
Also set the parking brake because normally the parking pawl (or your foot on the brake) keeps the car from rolling away when you don’t intend it to, and we’ll be shifting out of Park (so the parking pawl will be disengaged) and probably not sitting with a foot on the brake pedal.
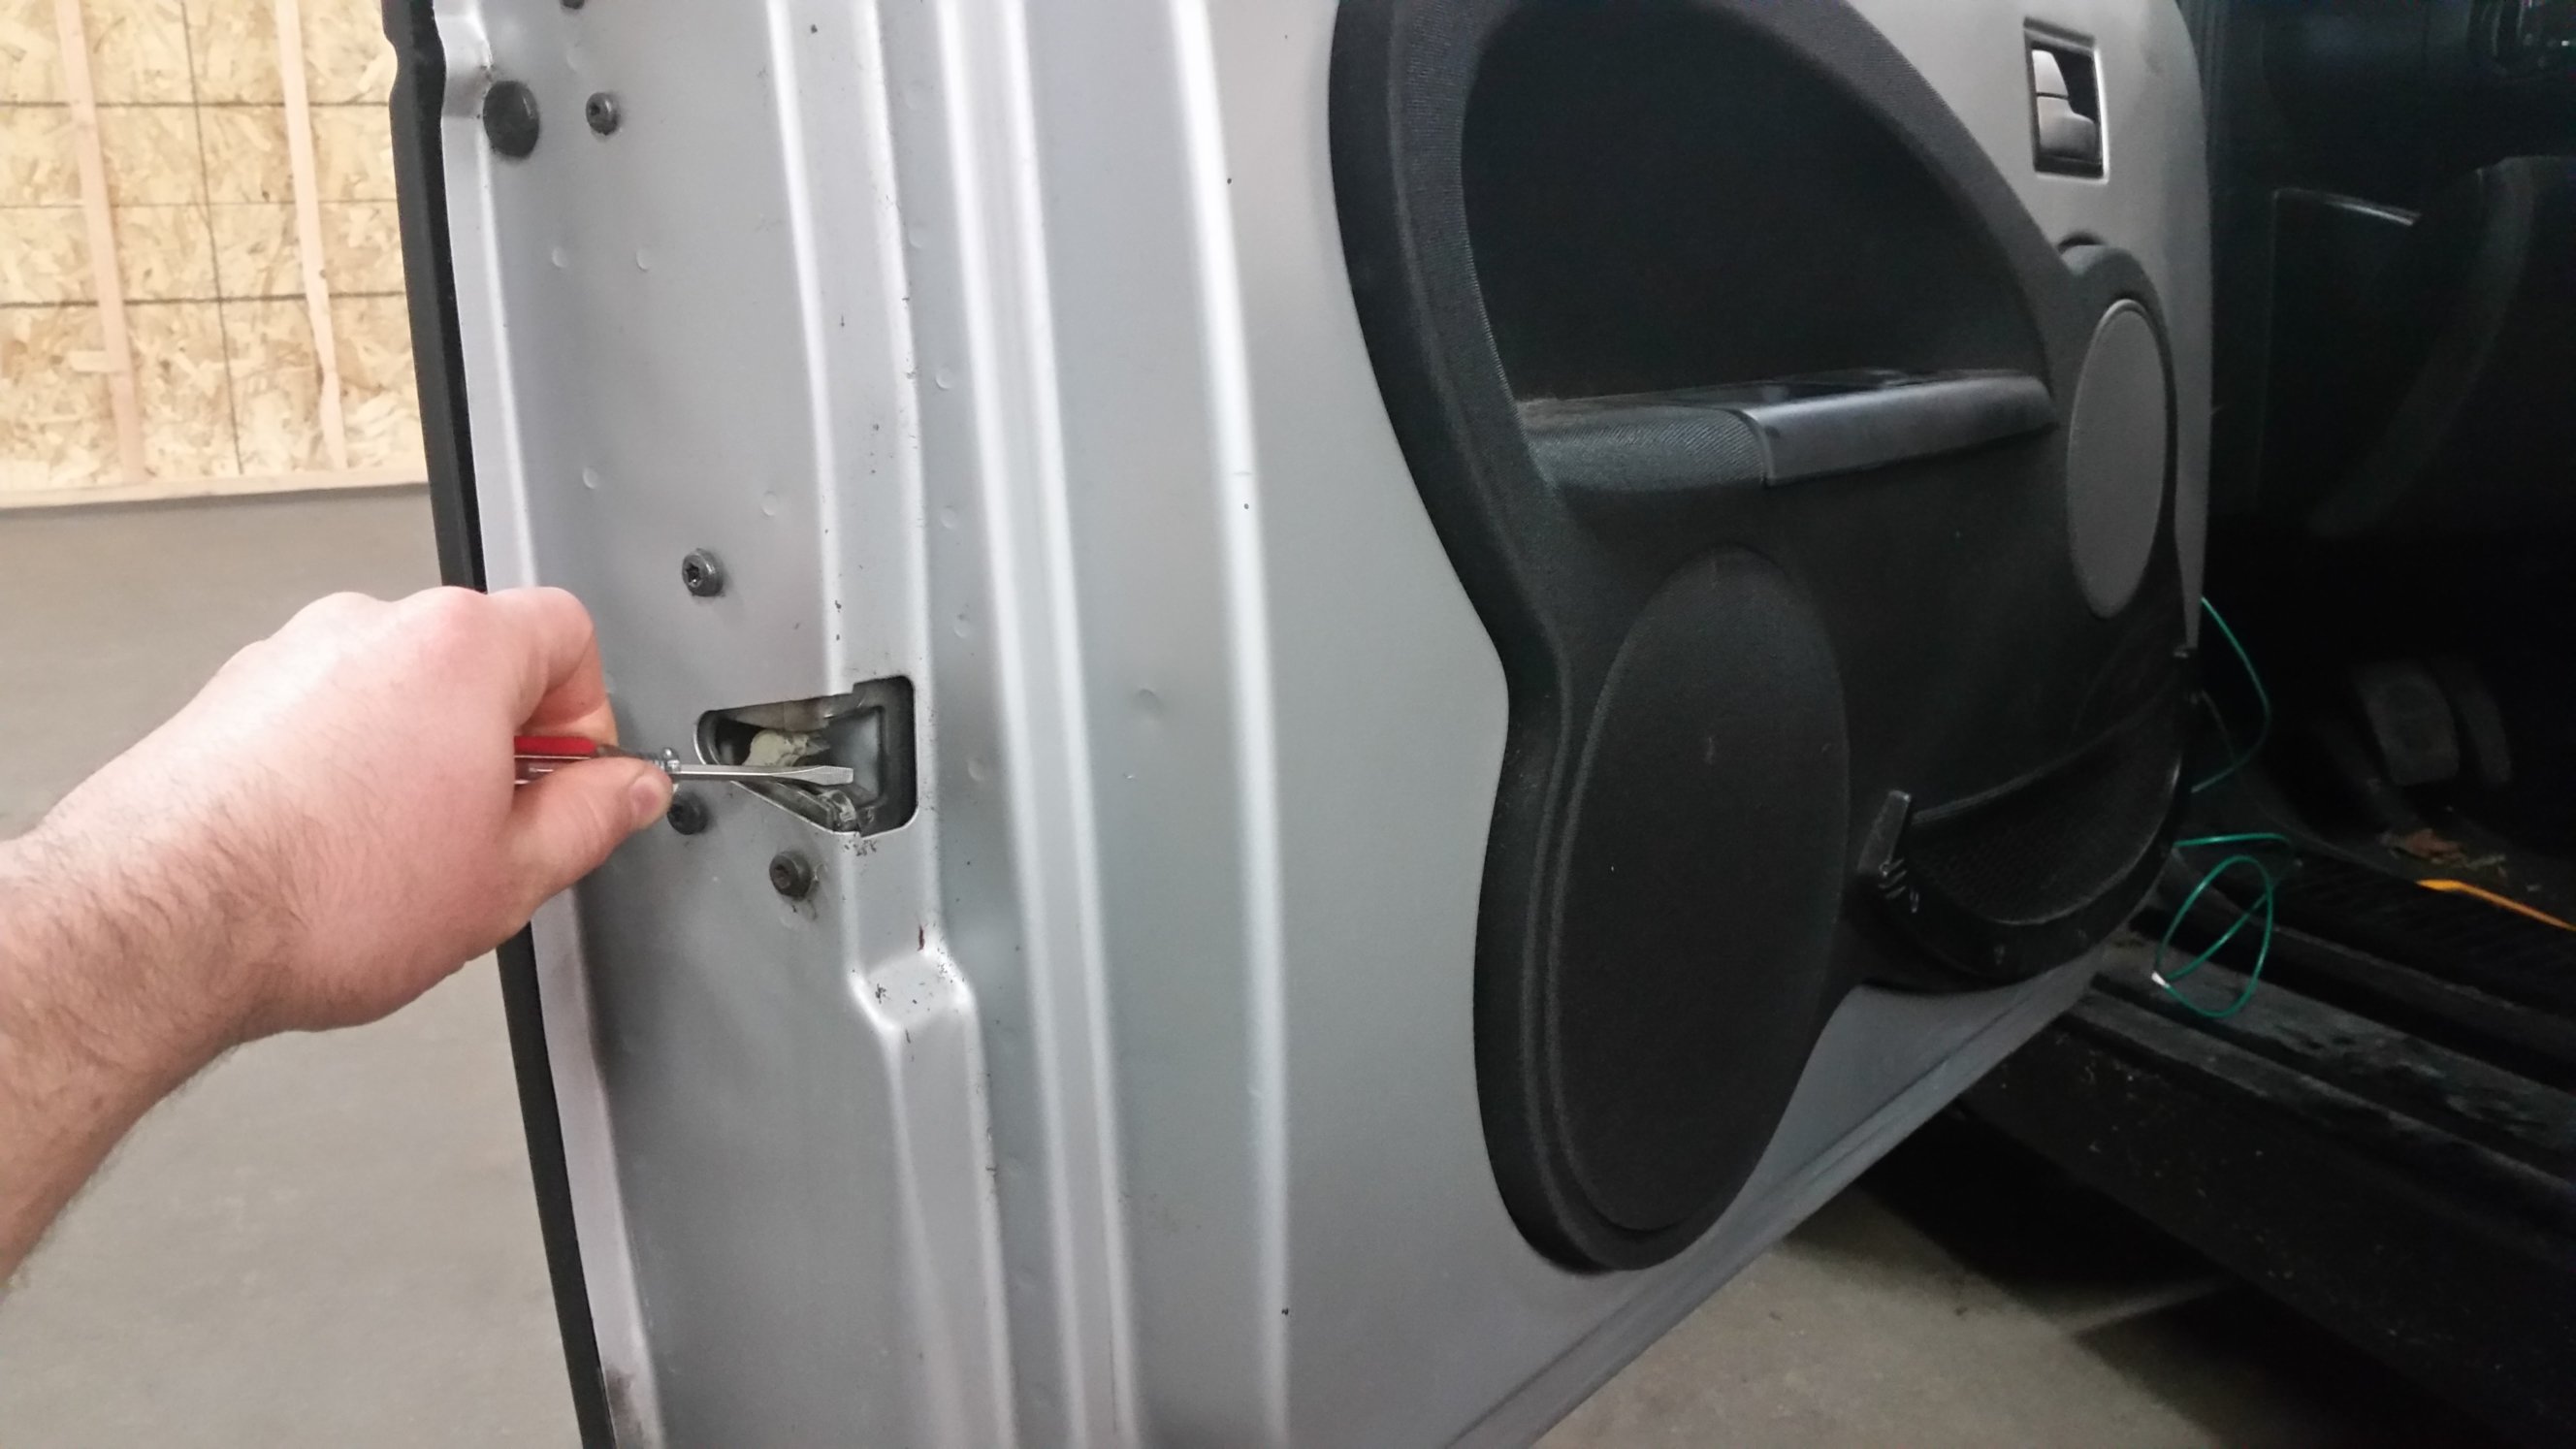
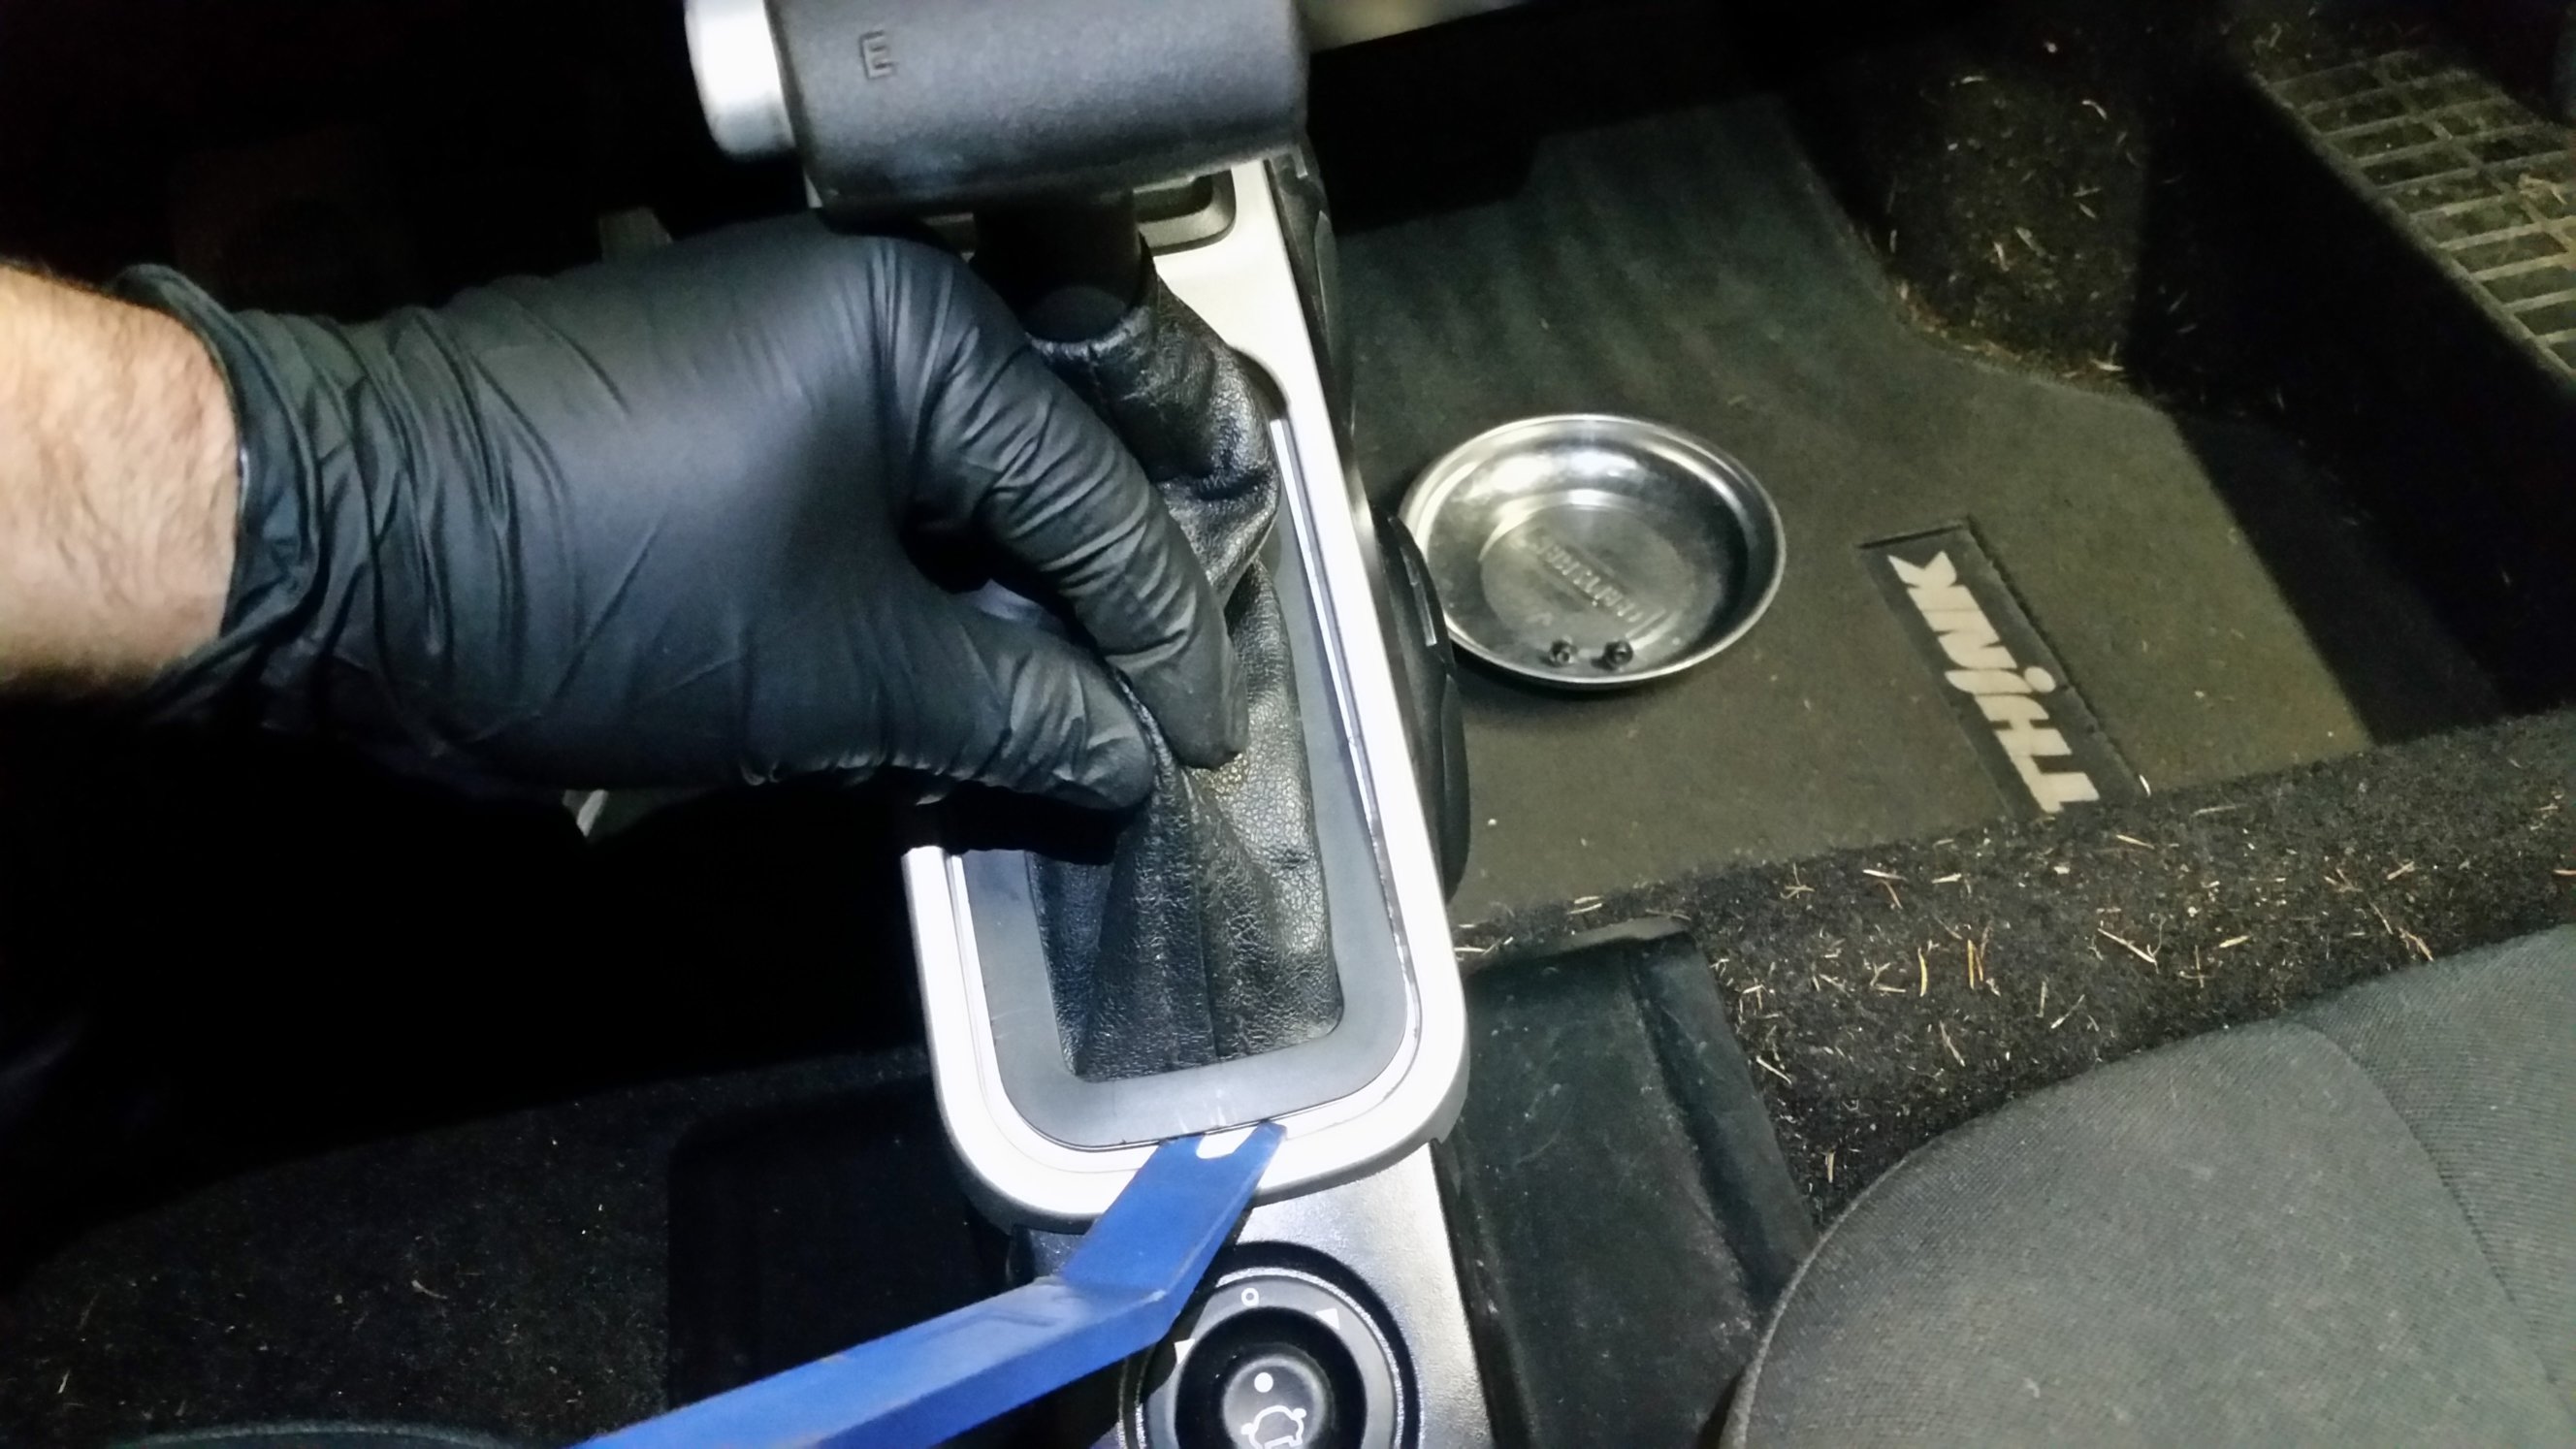
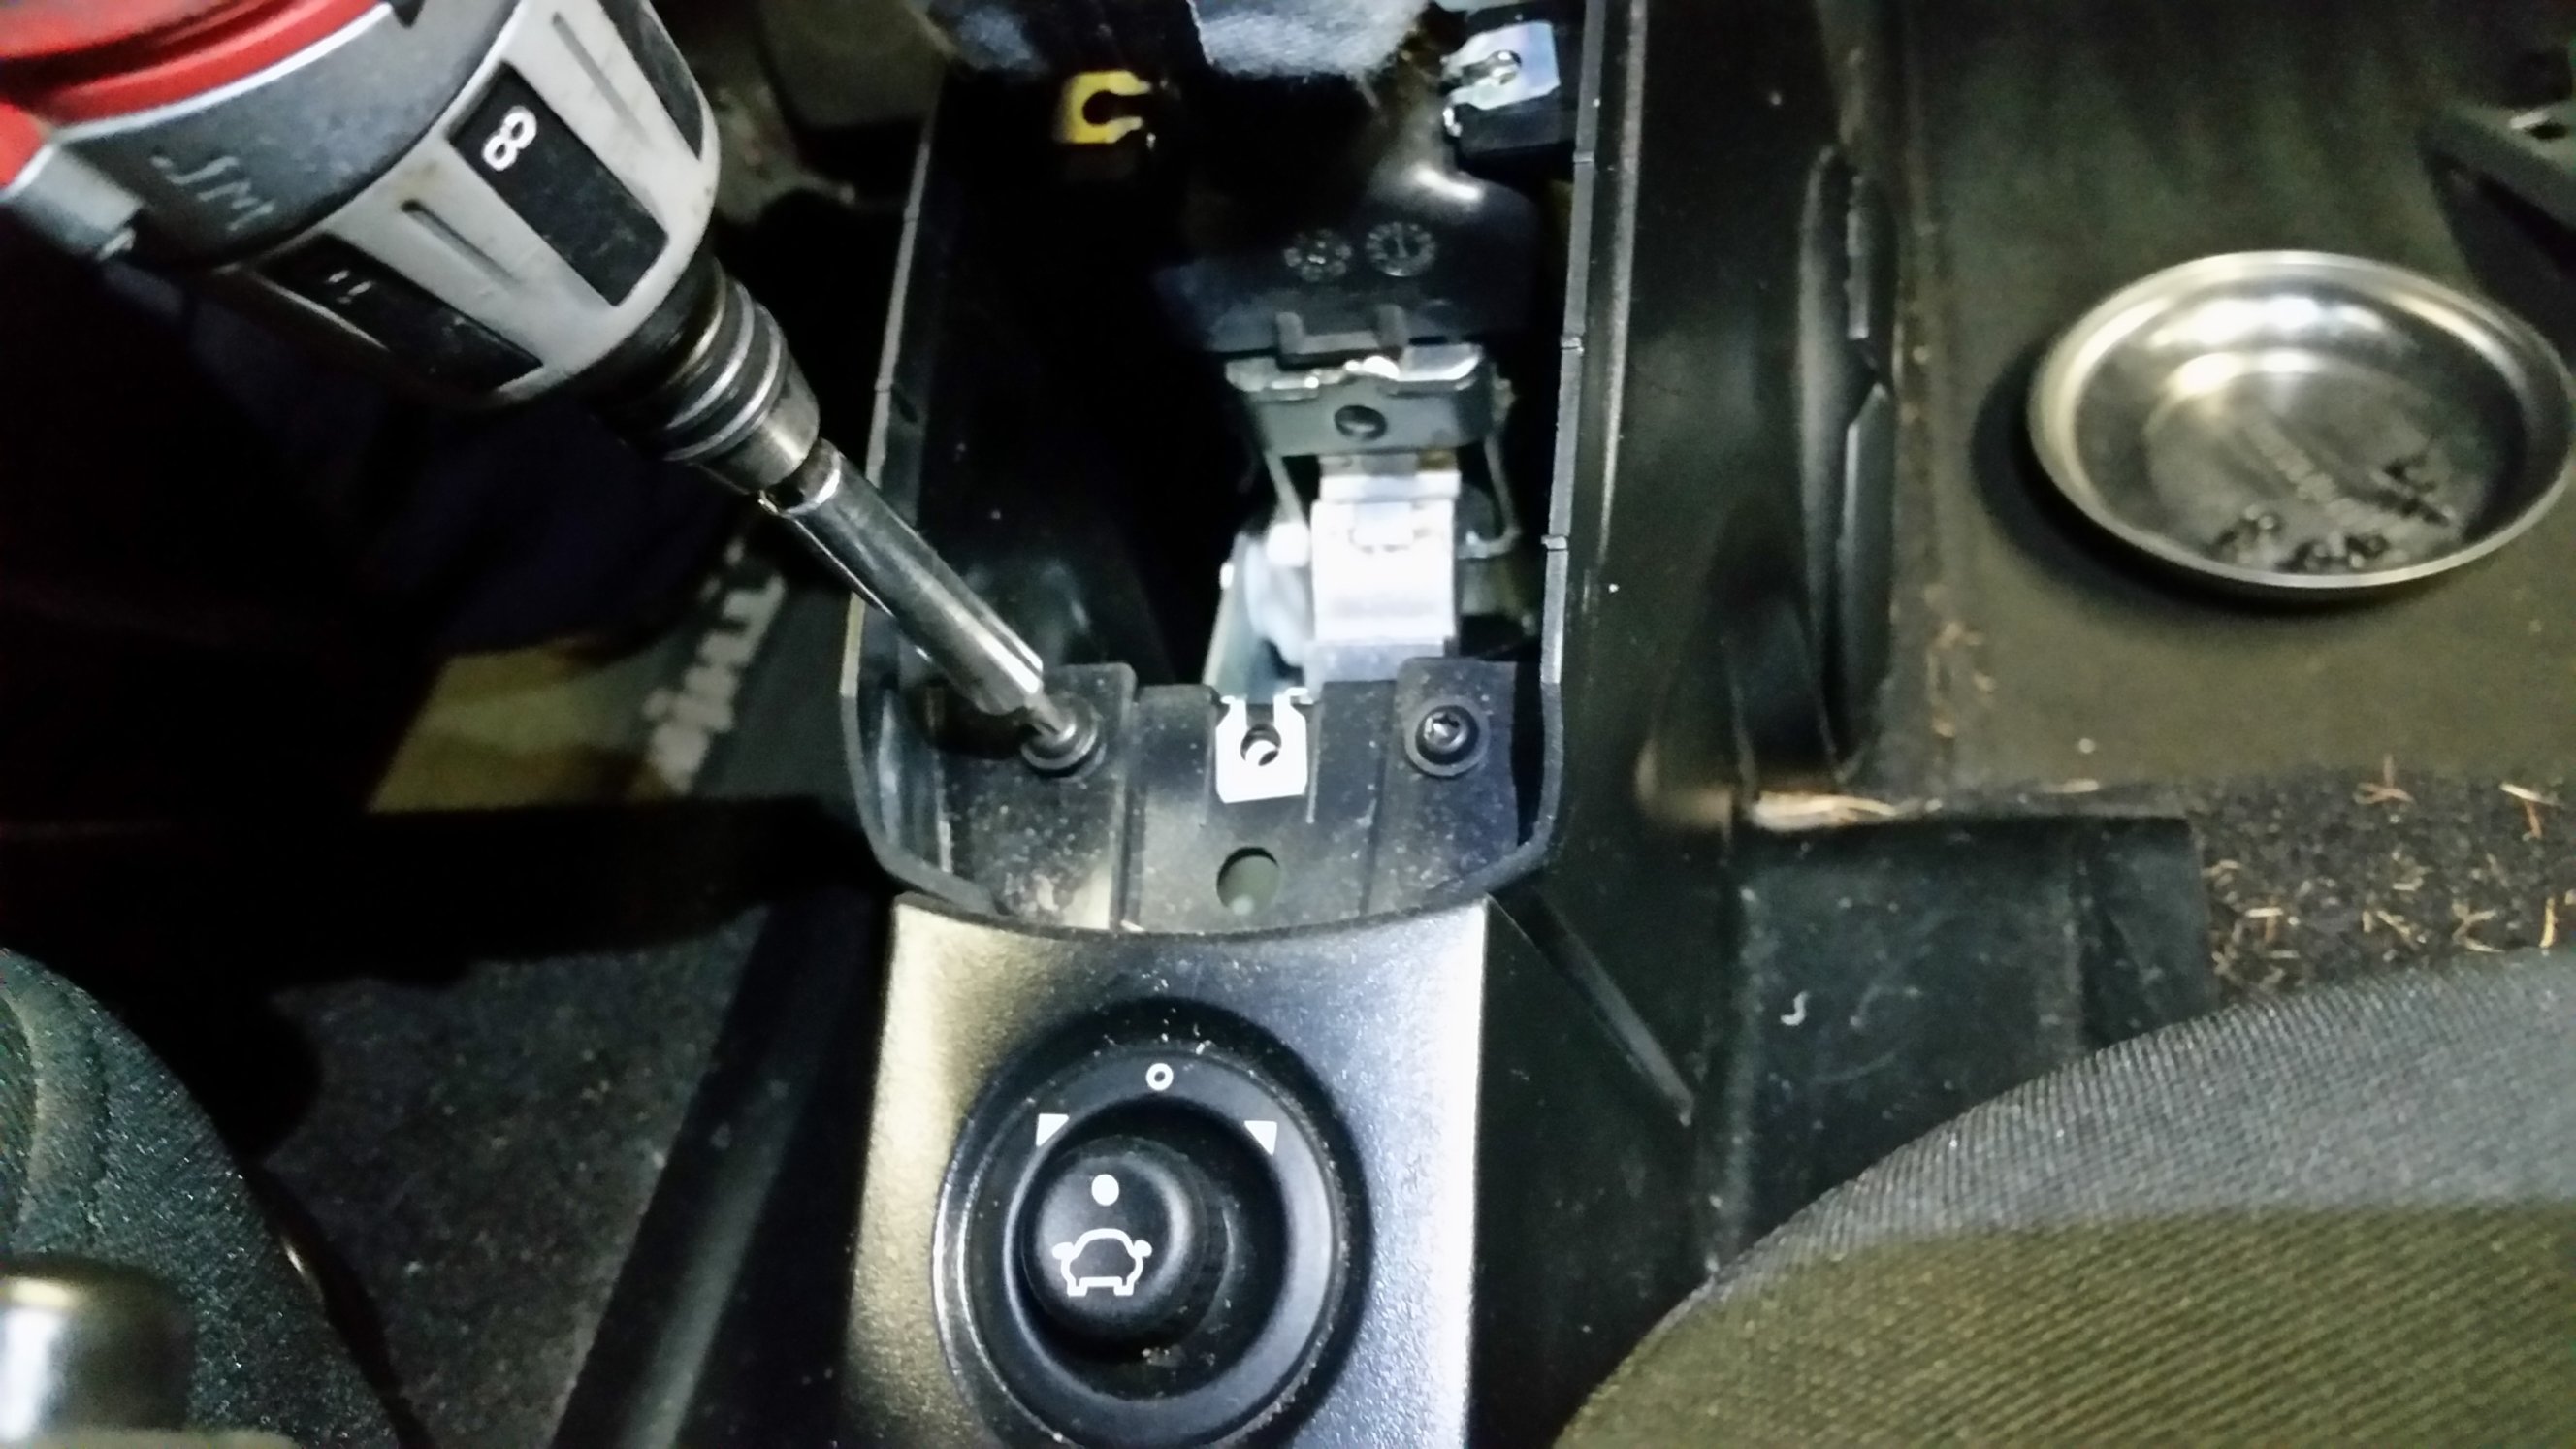
Now before I even start addressing disassembly, it’s worth discussing how you can disable a buzzer/chime/alarm that will be frequently sounding as you go through this procedure. You will notice that when you press the button on the left side of the gear selector lever (which I may refer to as the thumb / release button) while the driver’s door is open, an annoying noise will alarm. This is true whether the key is off or on, and it will continue to alarm while the door is open and the gear selector is in any position but Park. Close the driver’s door or shift to Park and release the thumb button and the noise stops. But since you will have the door open and the gear selector out of Park frequently, you may decide to save yourself some sanity and trick the car into thinking that the driver’s door is closed. Use a screwdriver or something similar to press the latch on the edge of the door that normal grabs onto the striker when you you close the door.
When you’re all done with this job and you go to close the driver’s door, you will get a jarring bang unless you are mindful enough to pull the door release handle (either the inside or outside) before you close it.
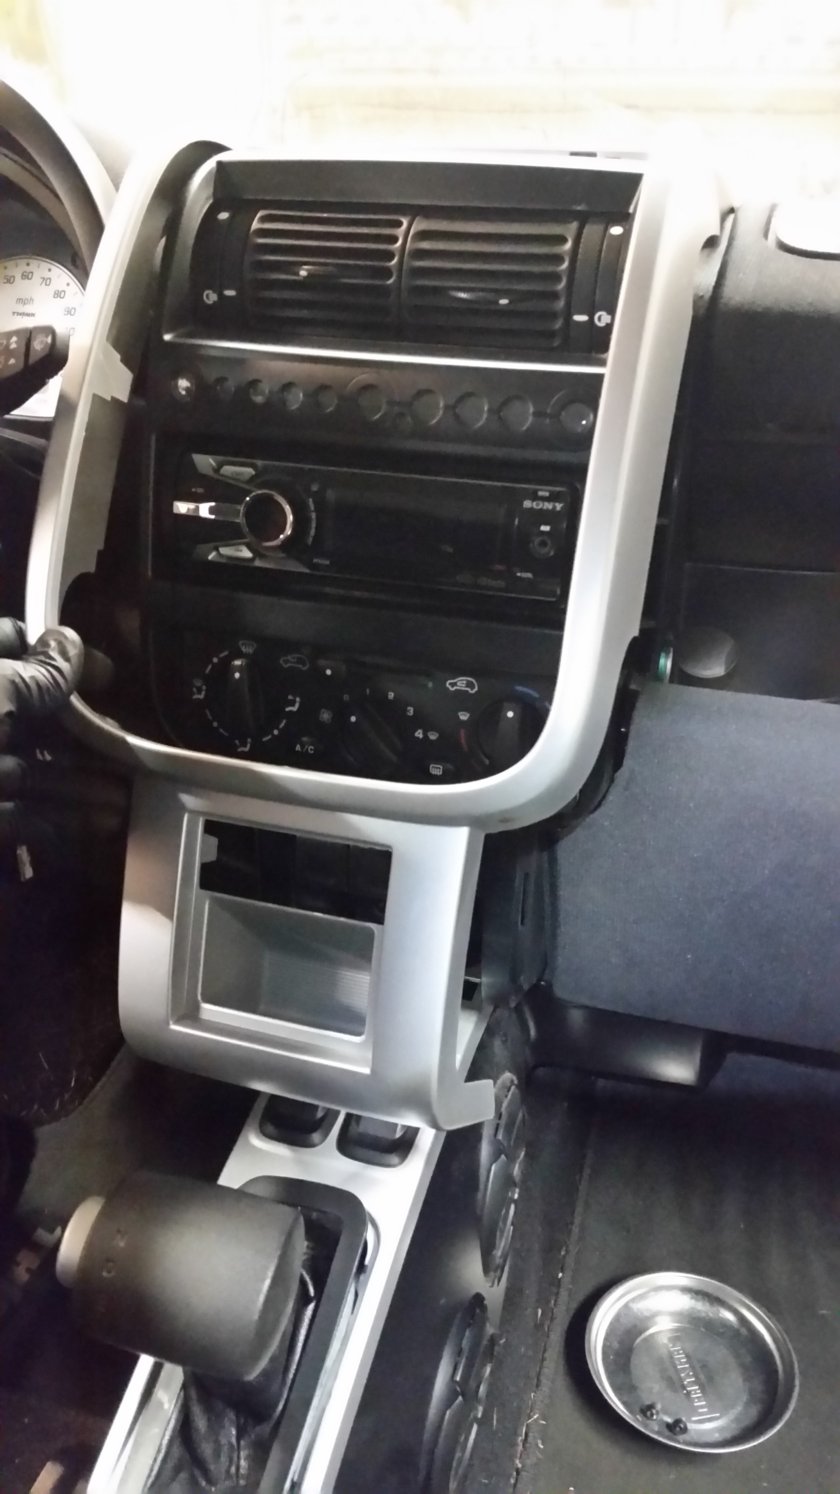
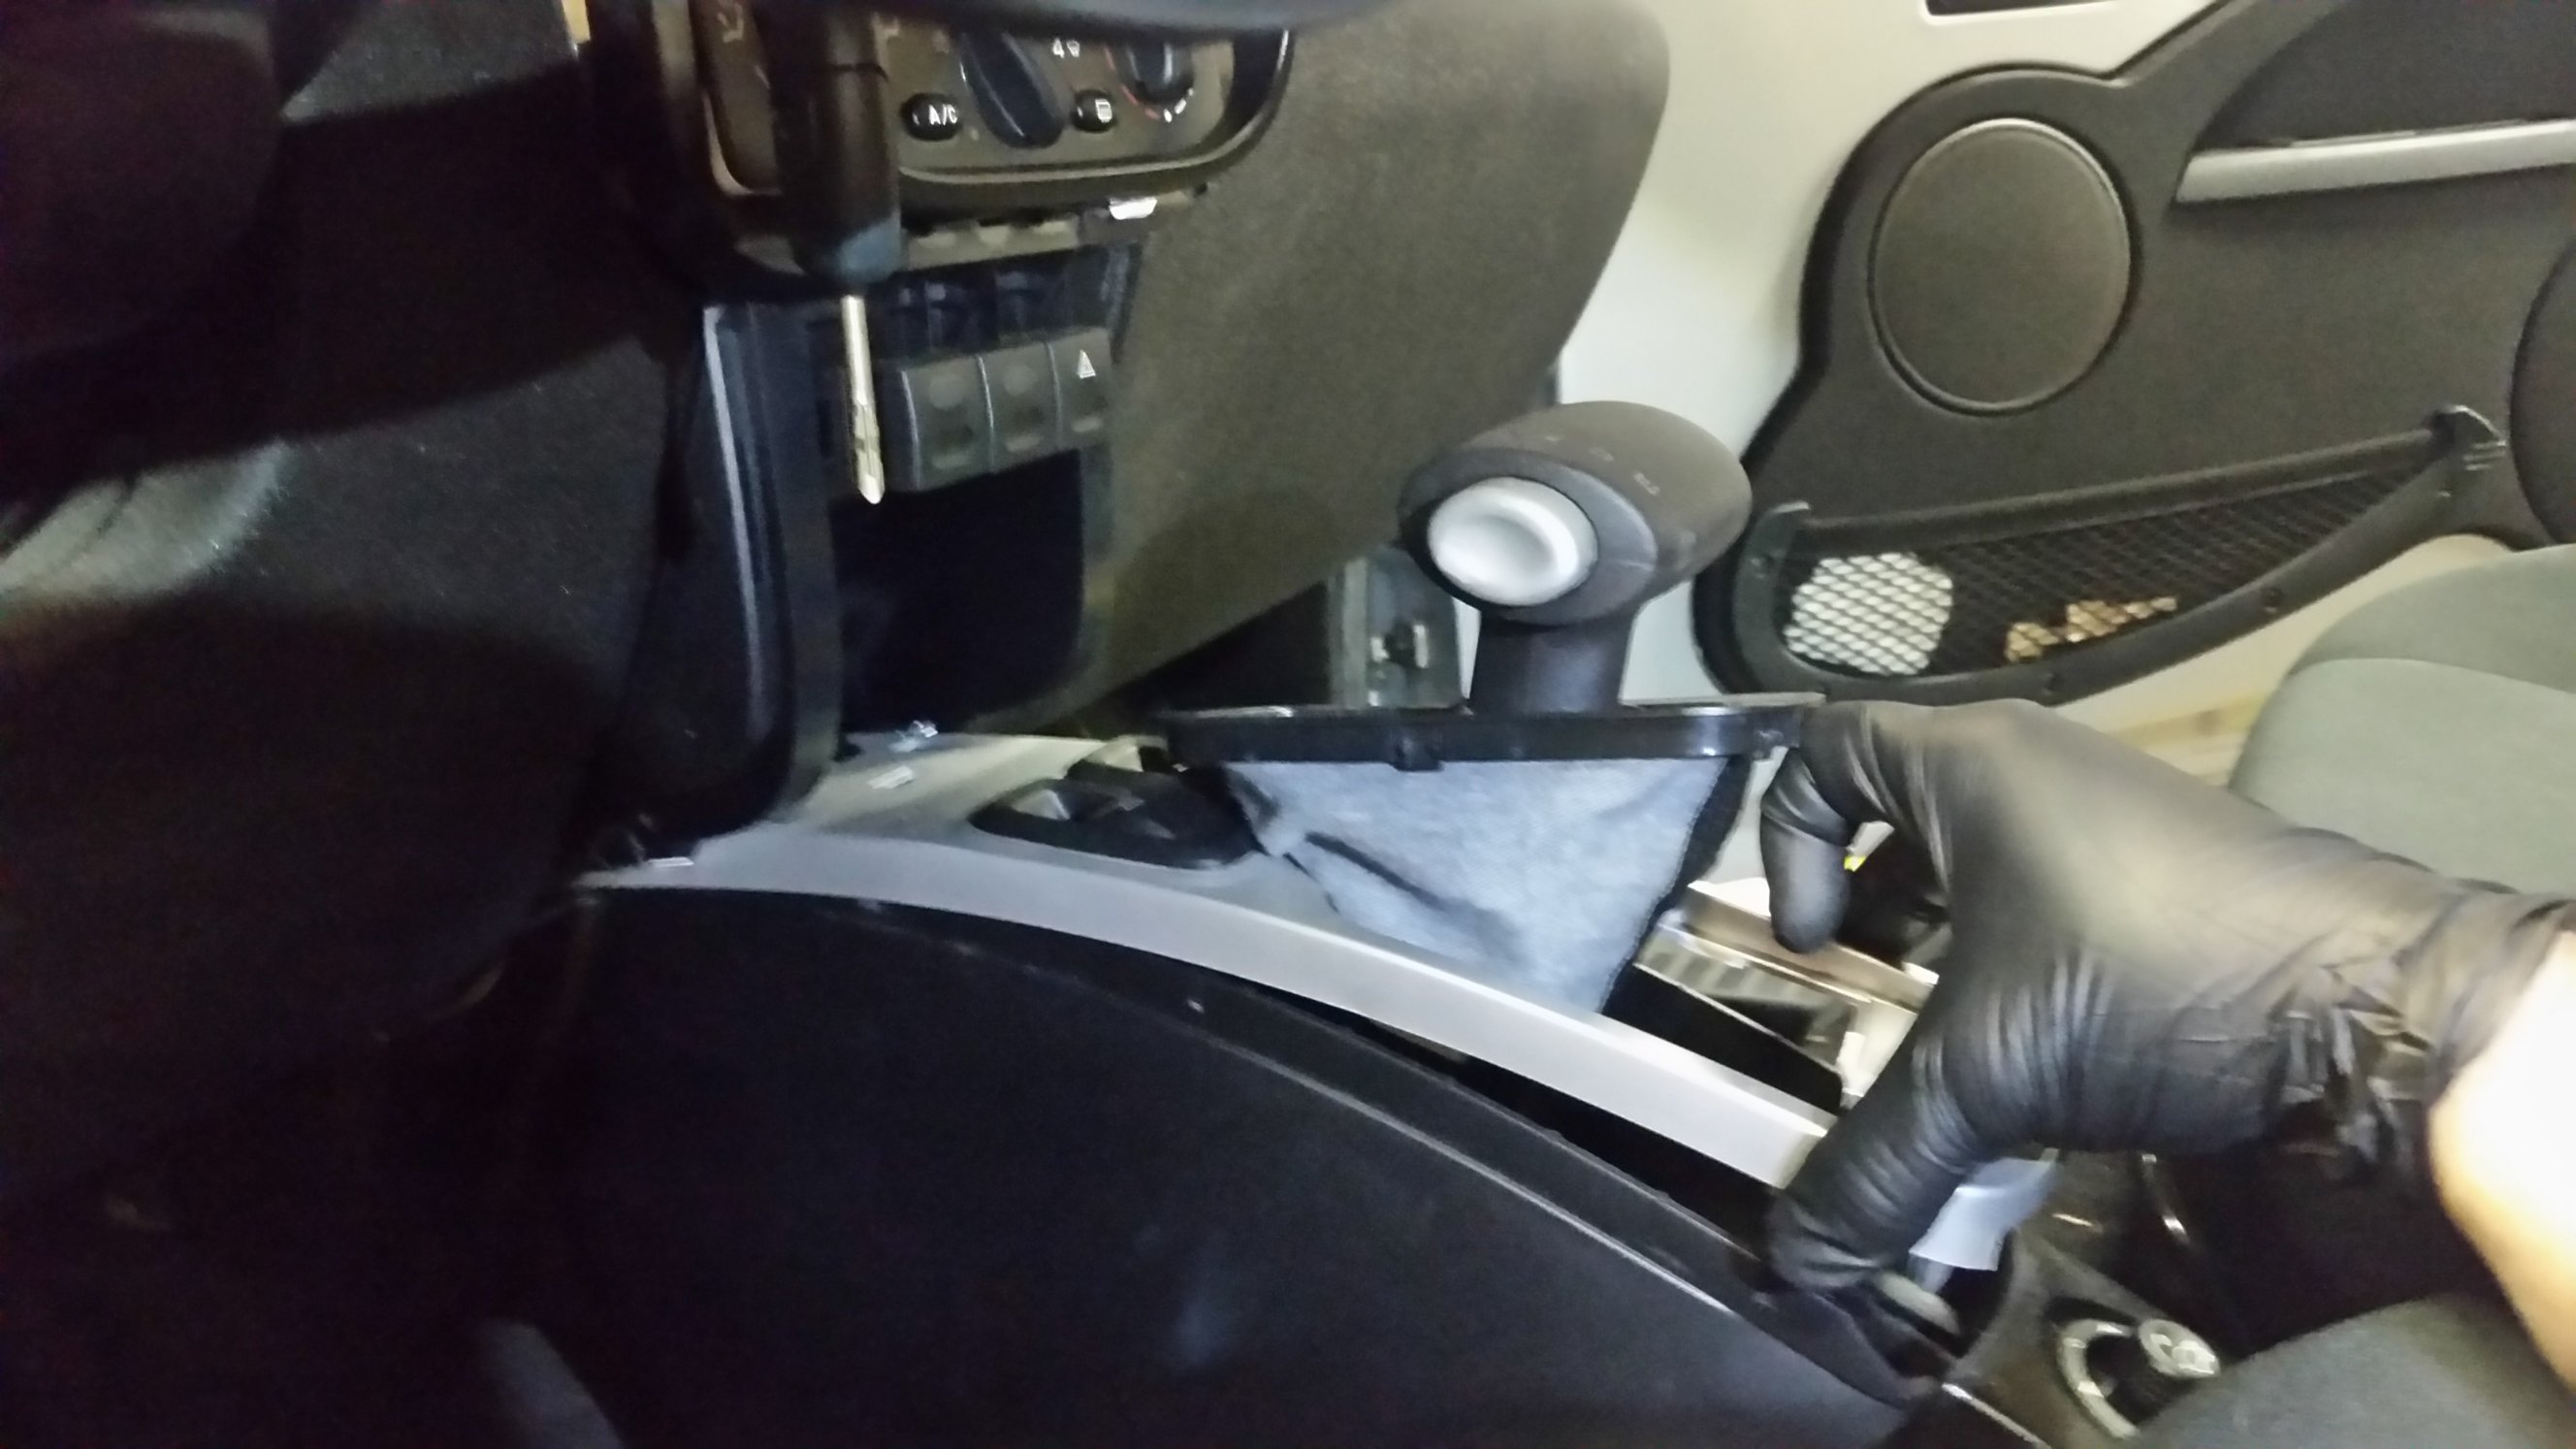
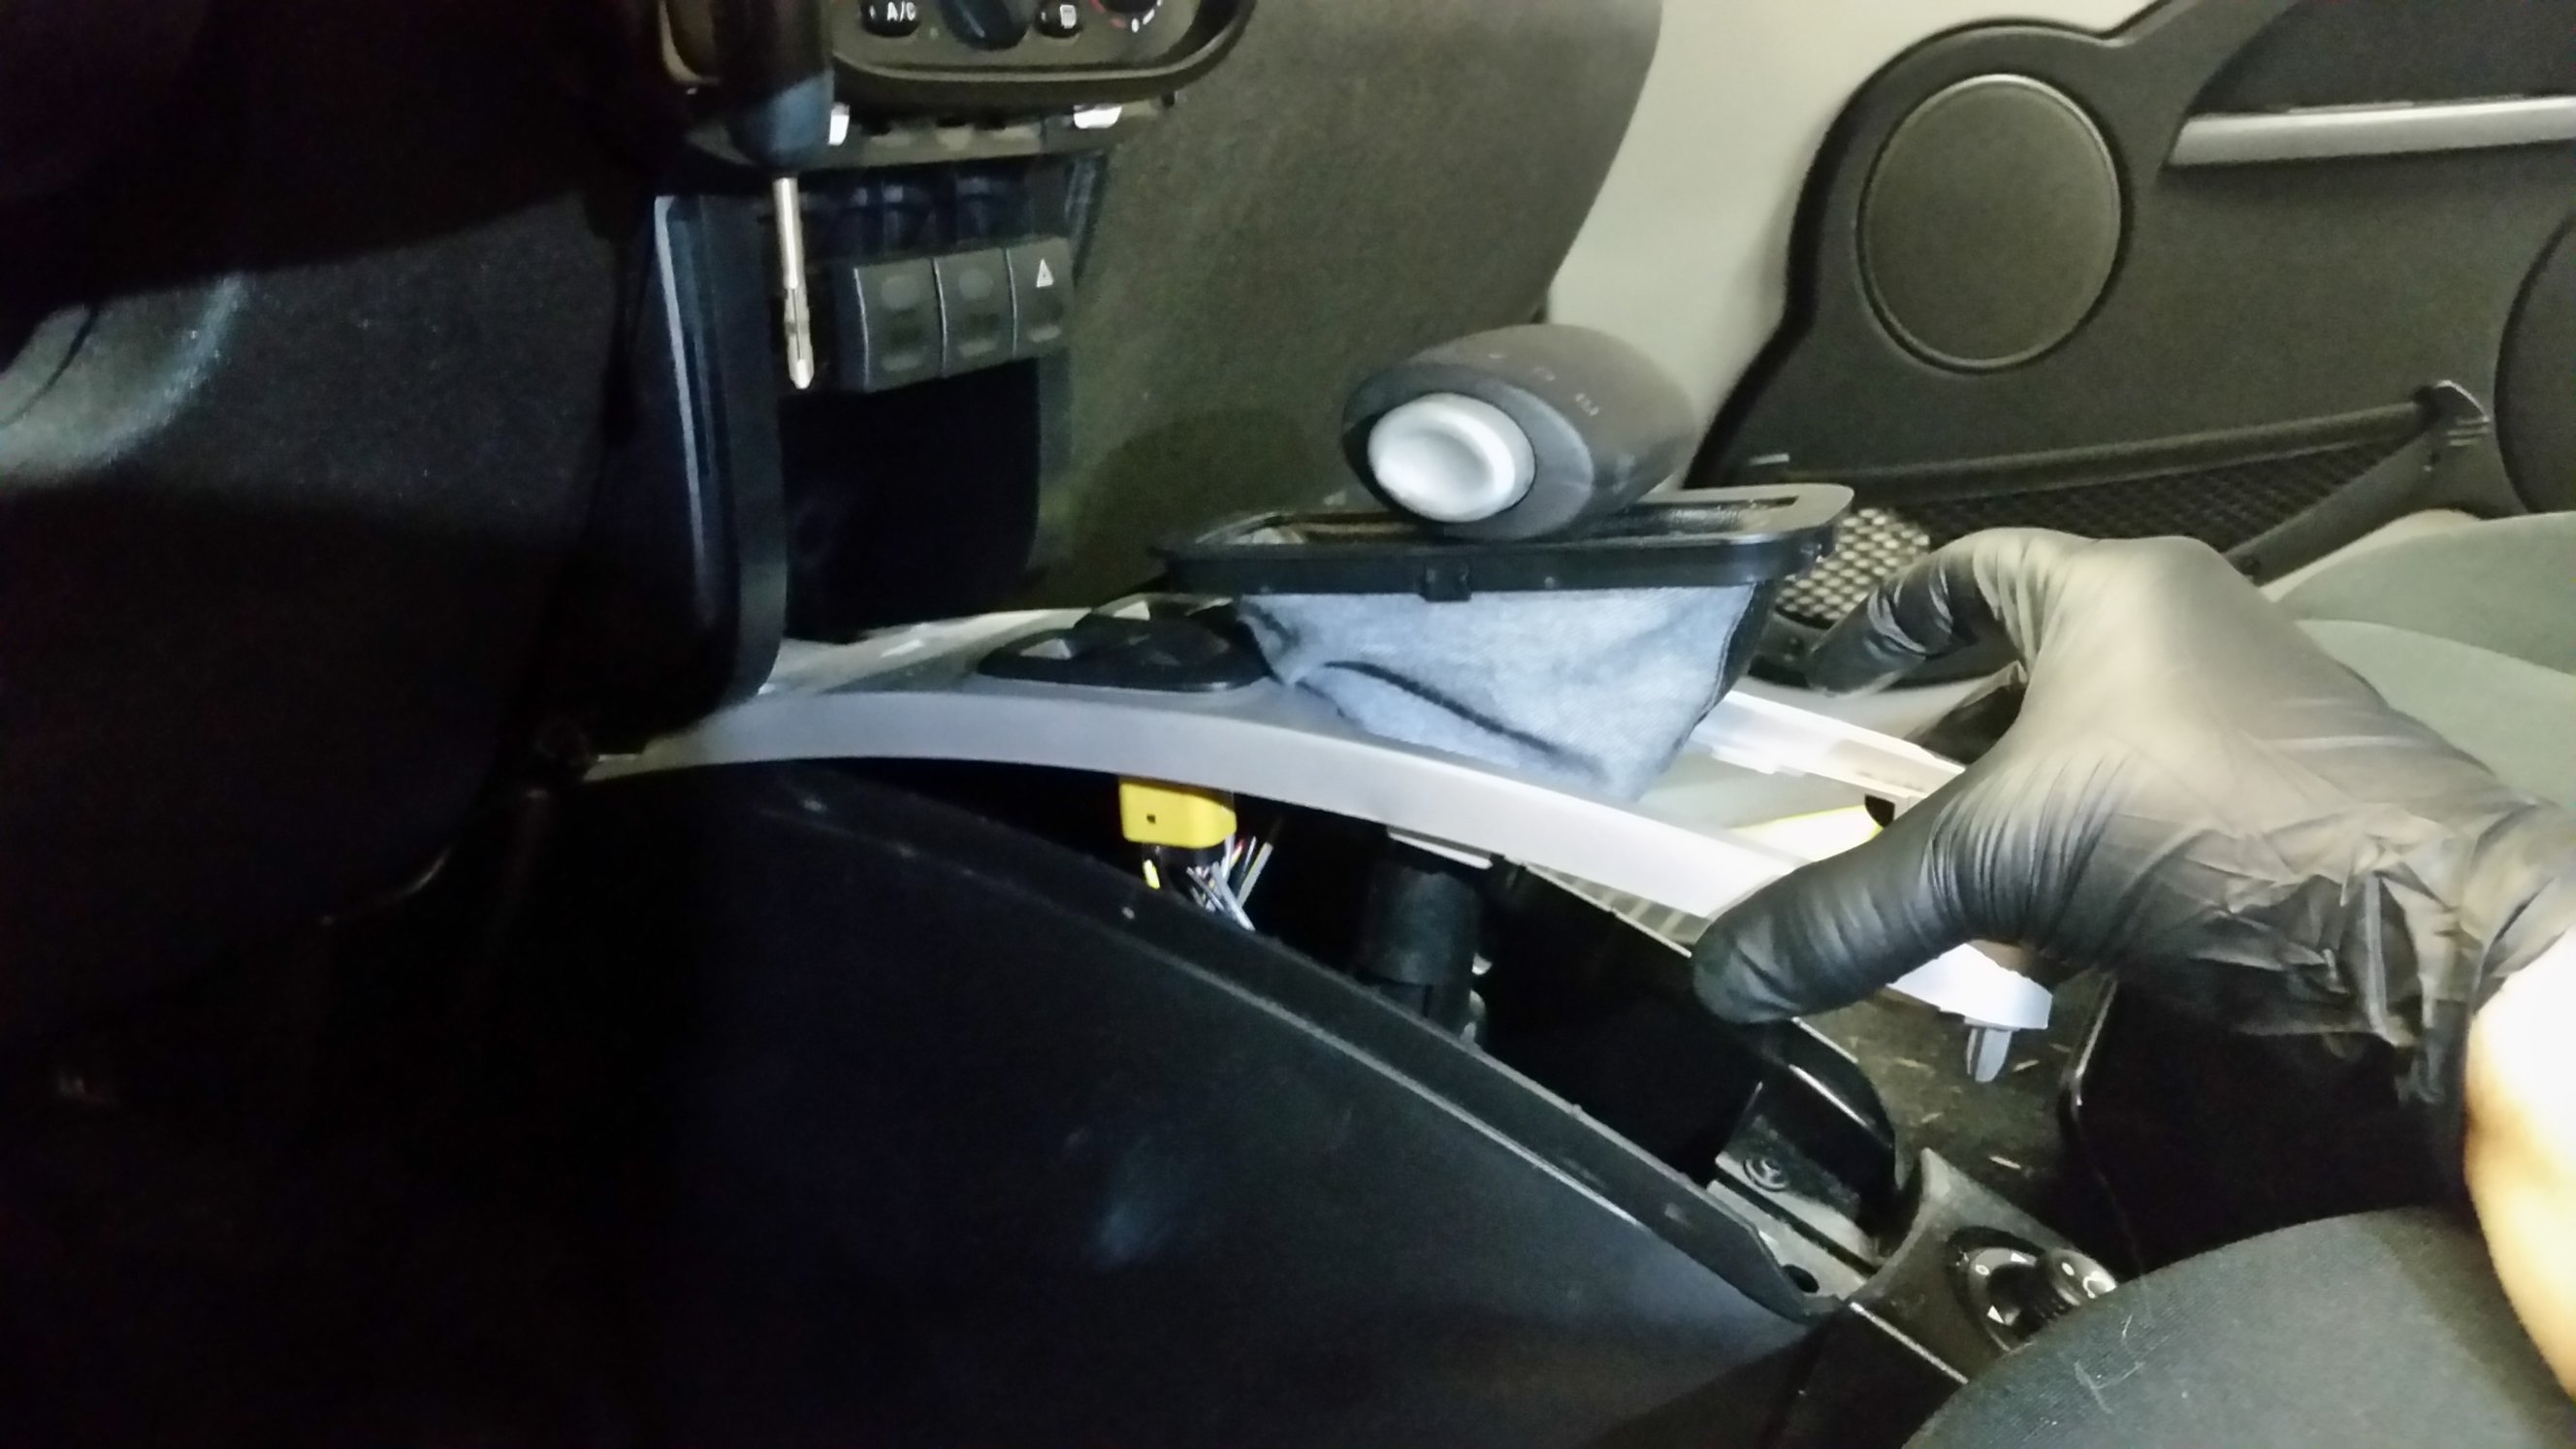
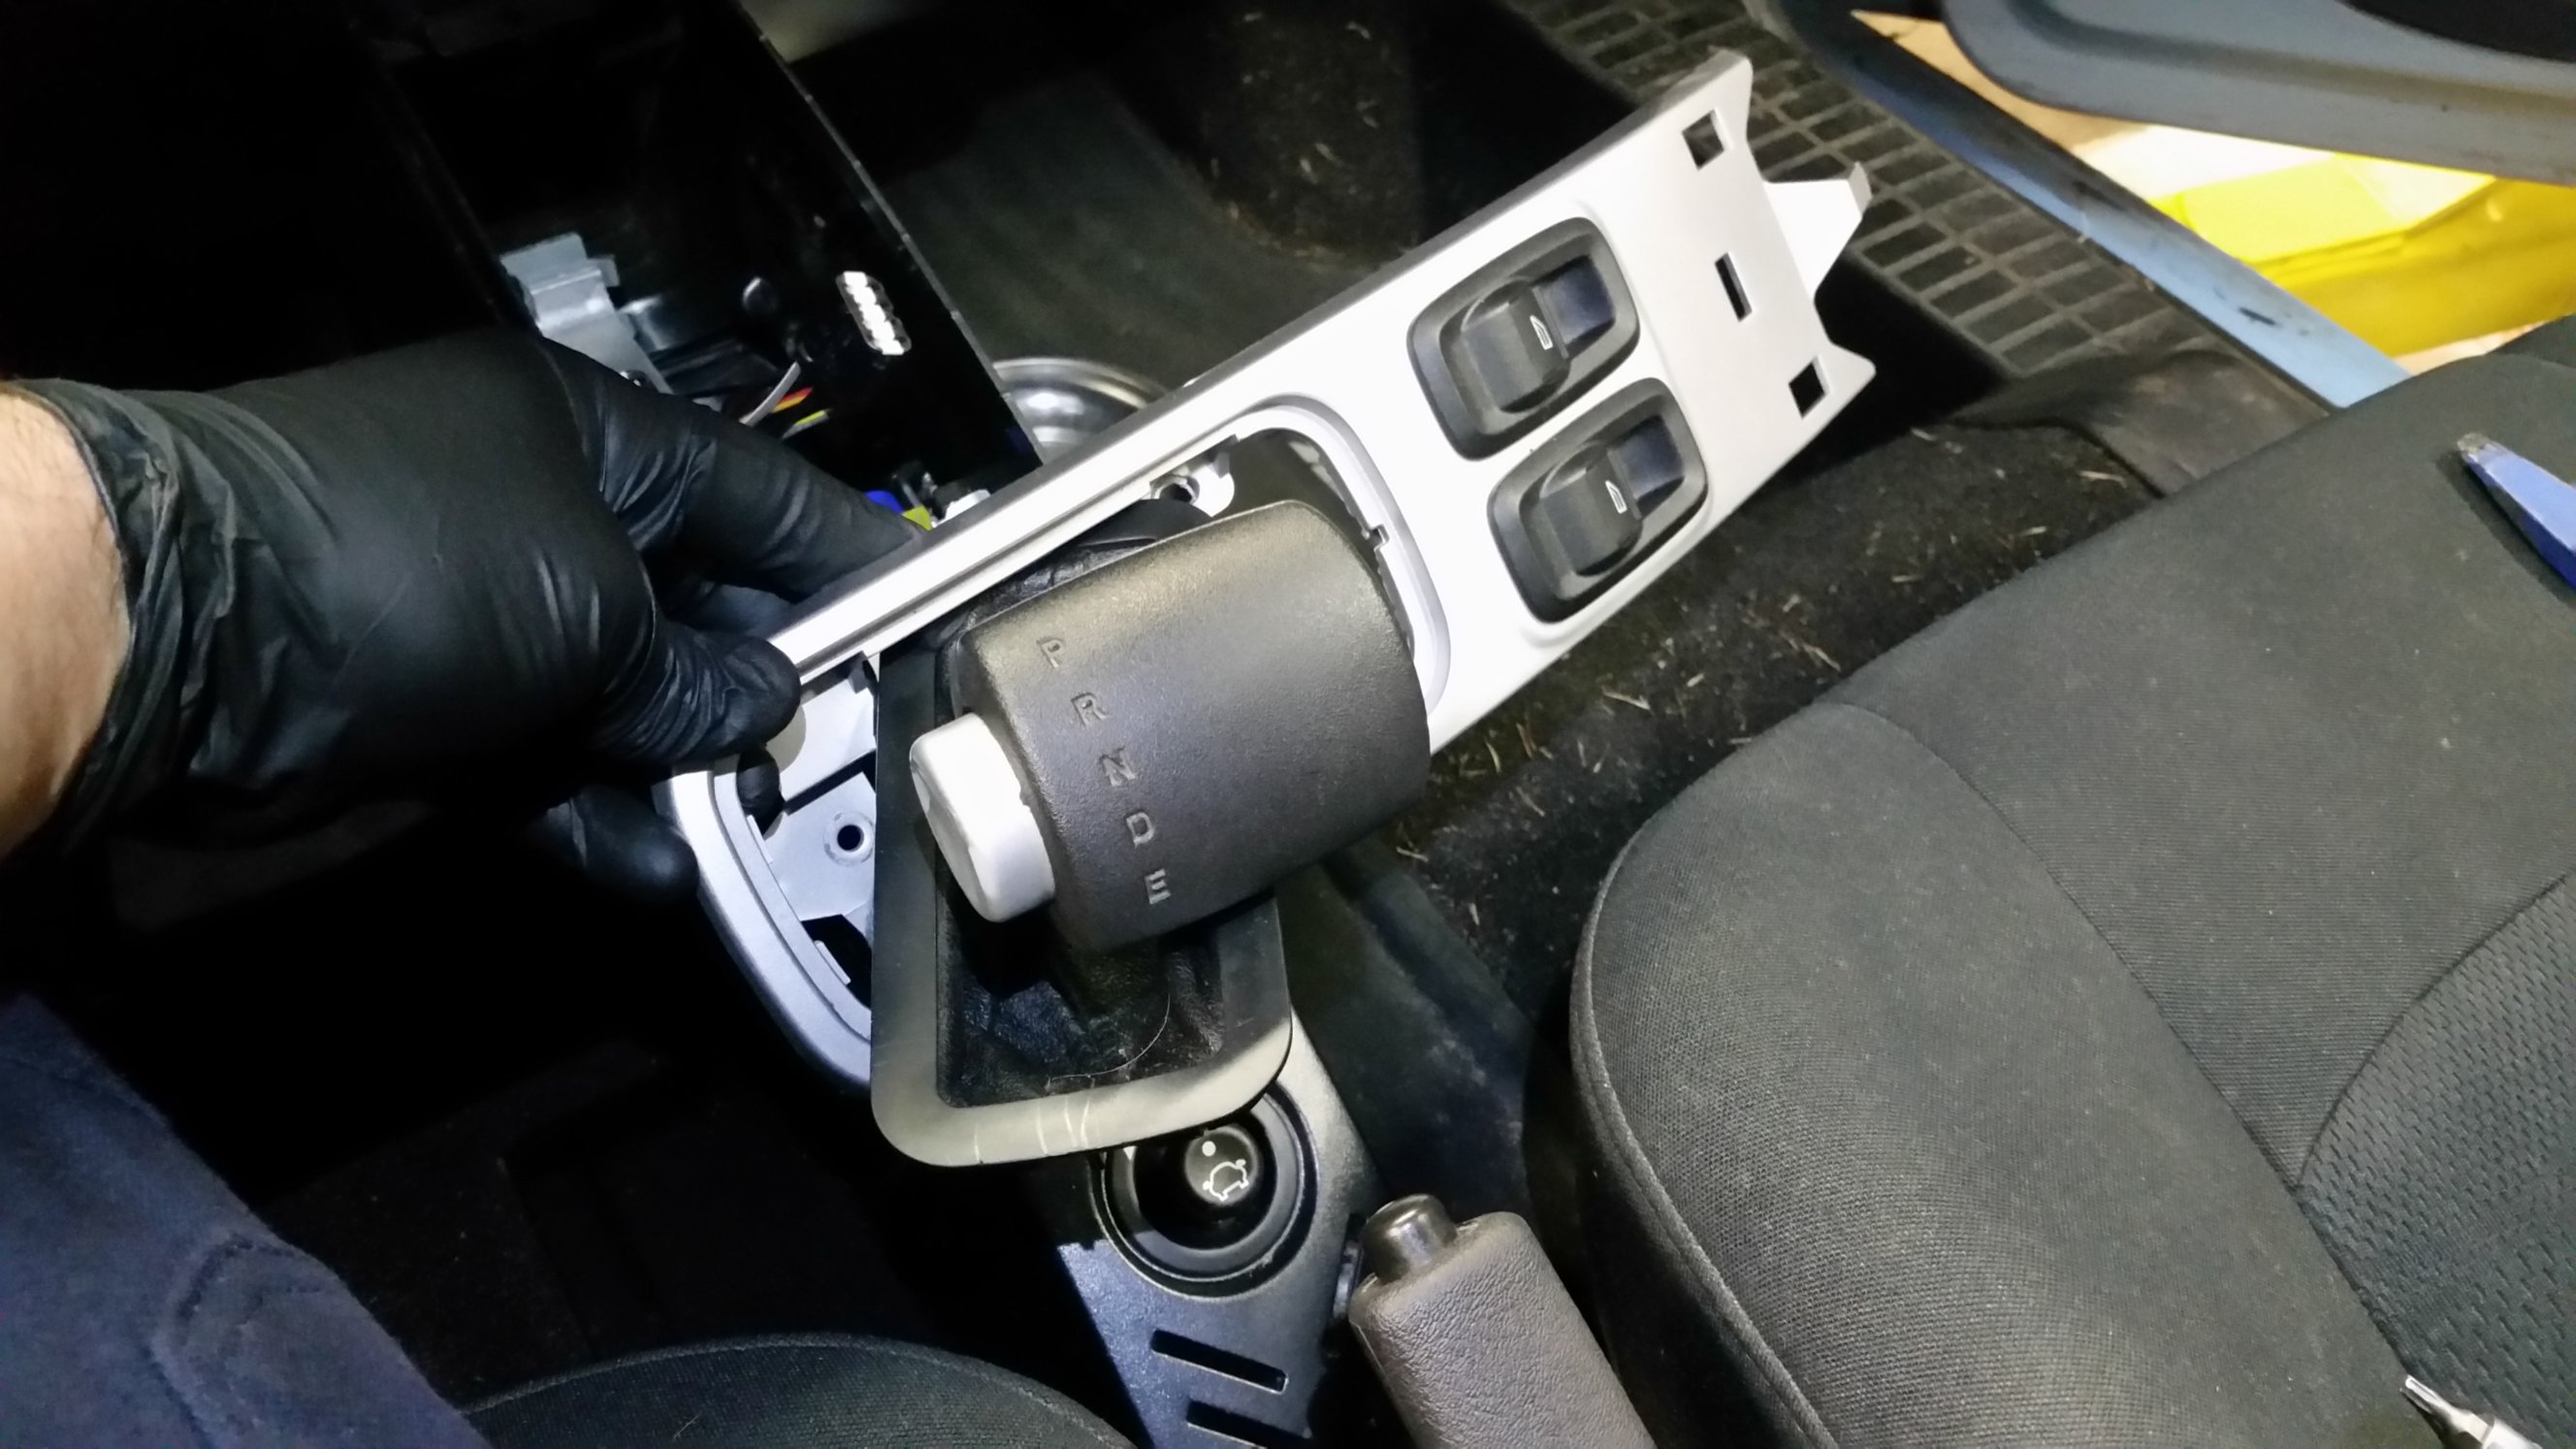
For now I’m just publishing a whole bunch of pictures, and I hope that’s enough for you to follow along. I’ll try to come back and annotate sometime, but you know how that goes…
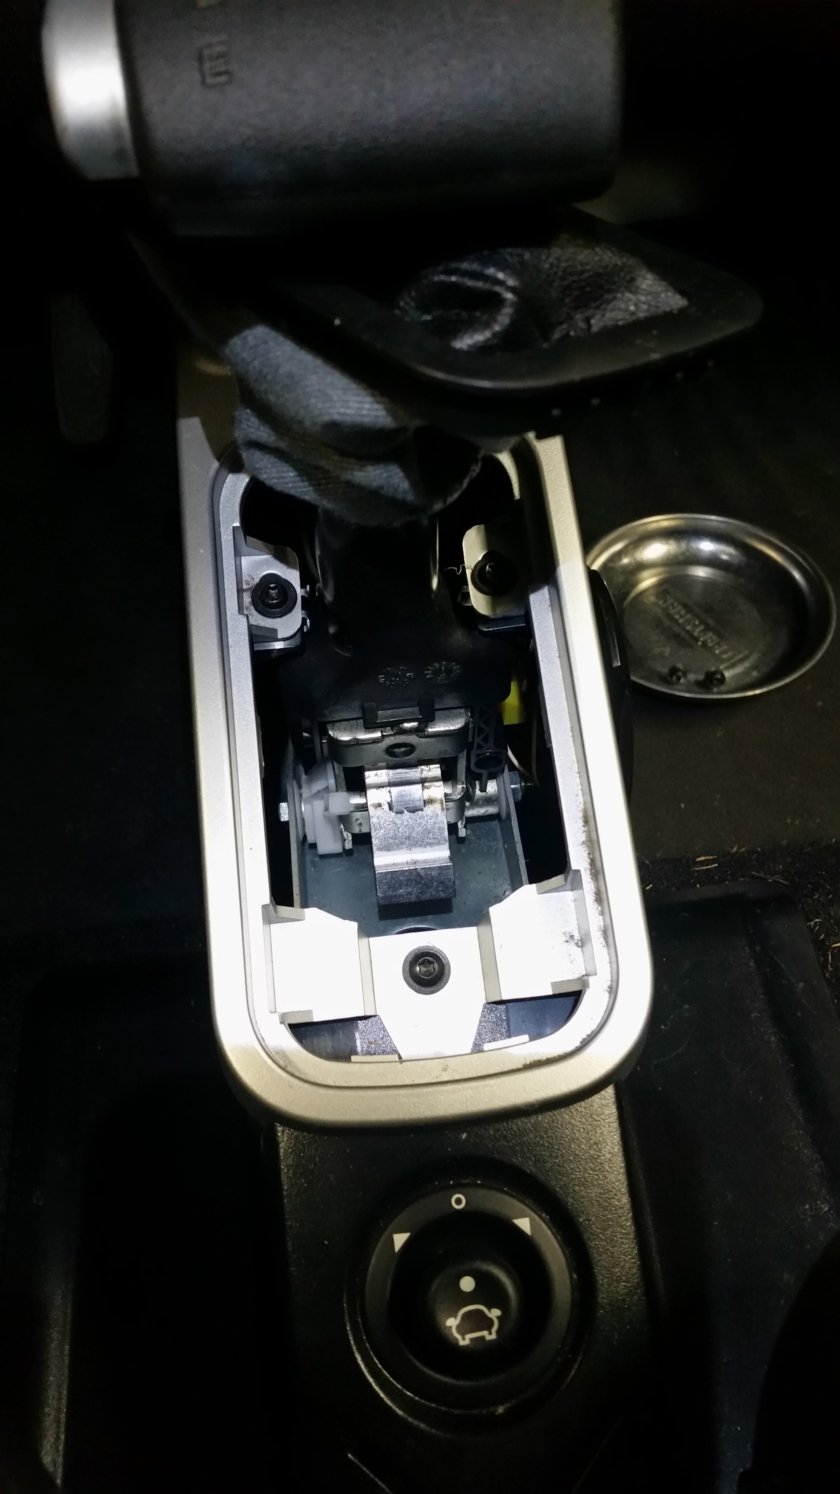
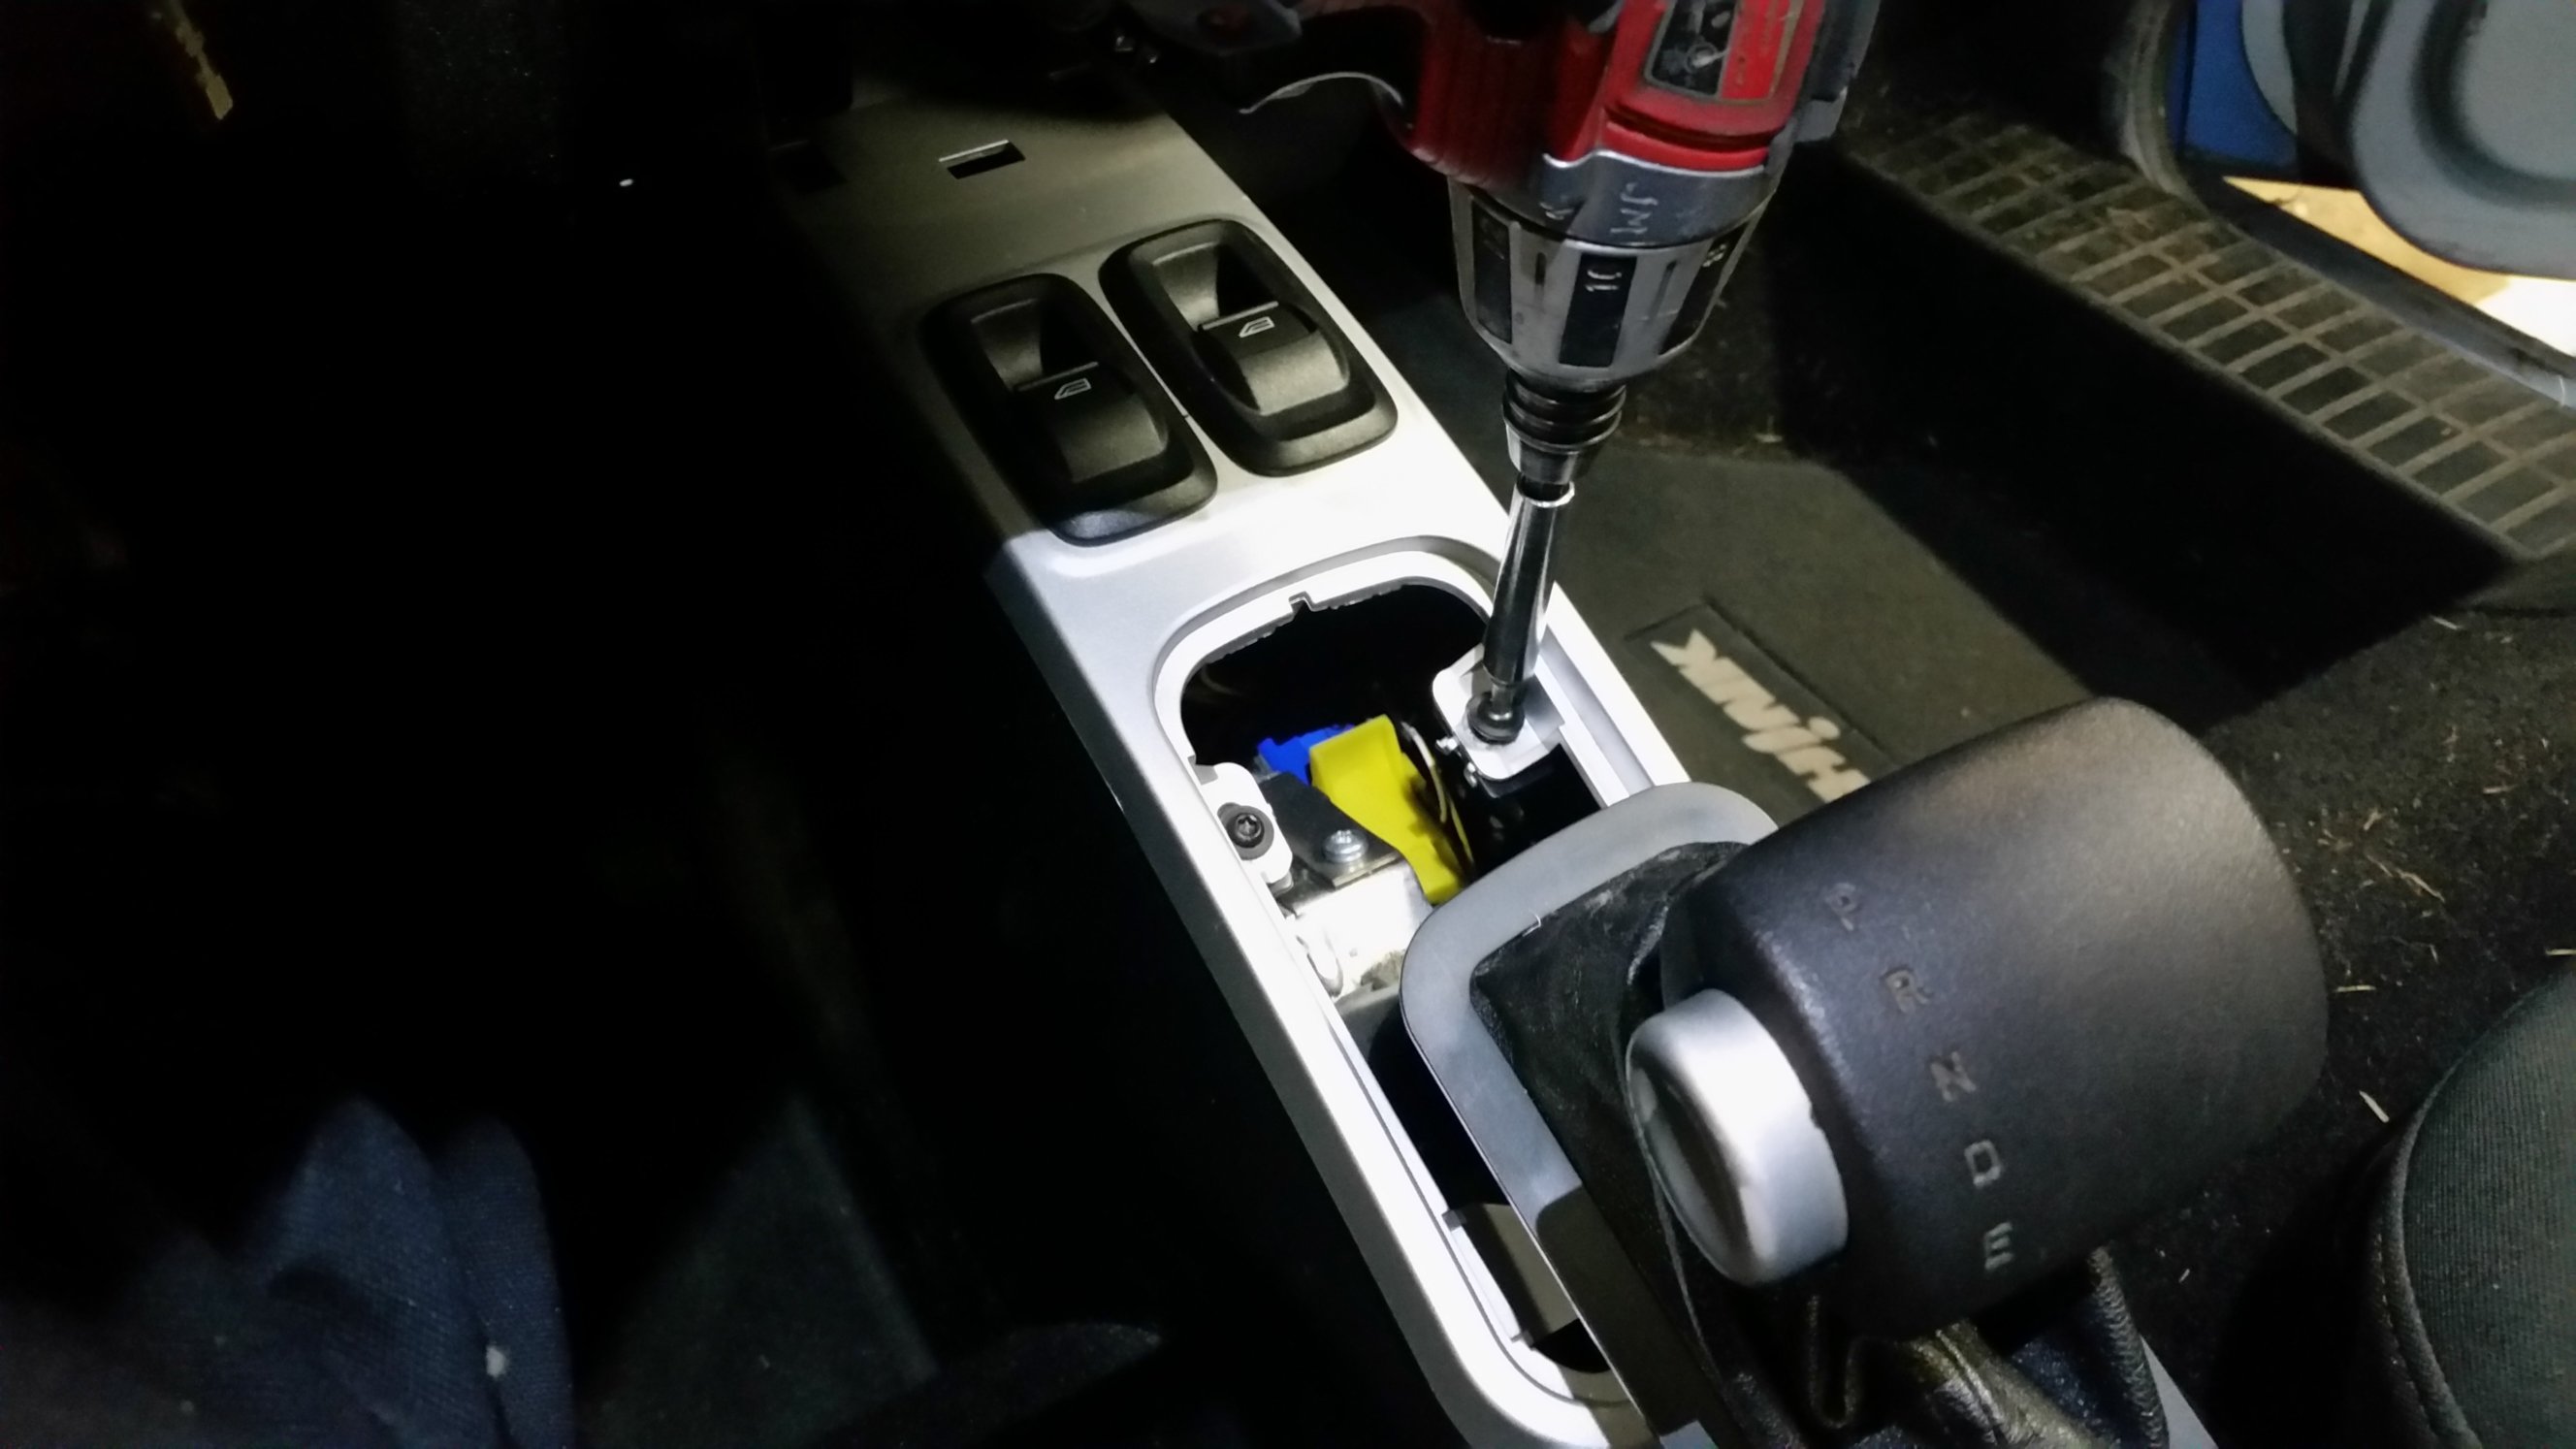
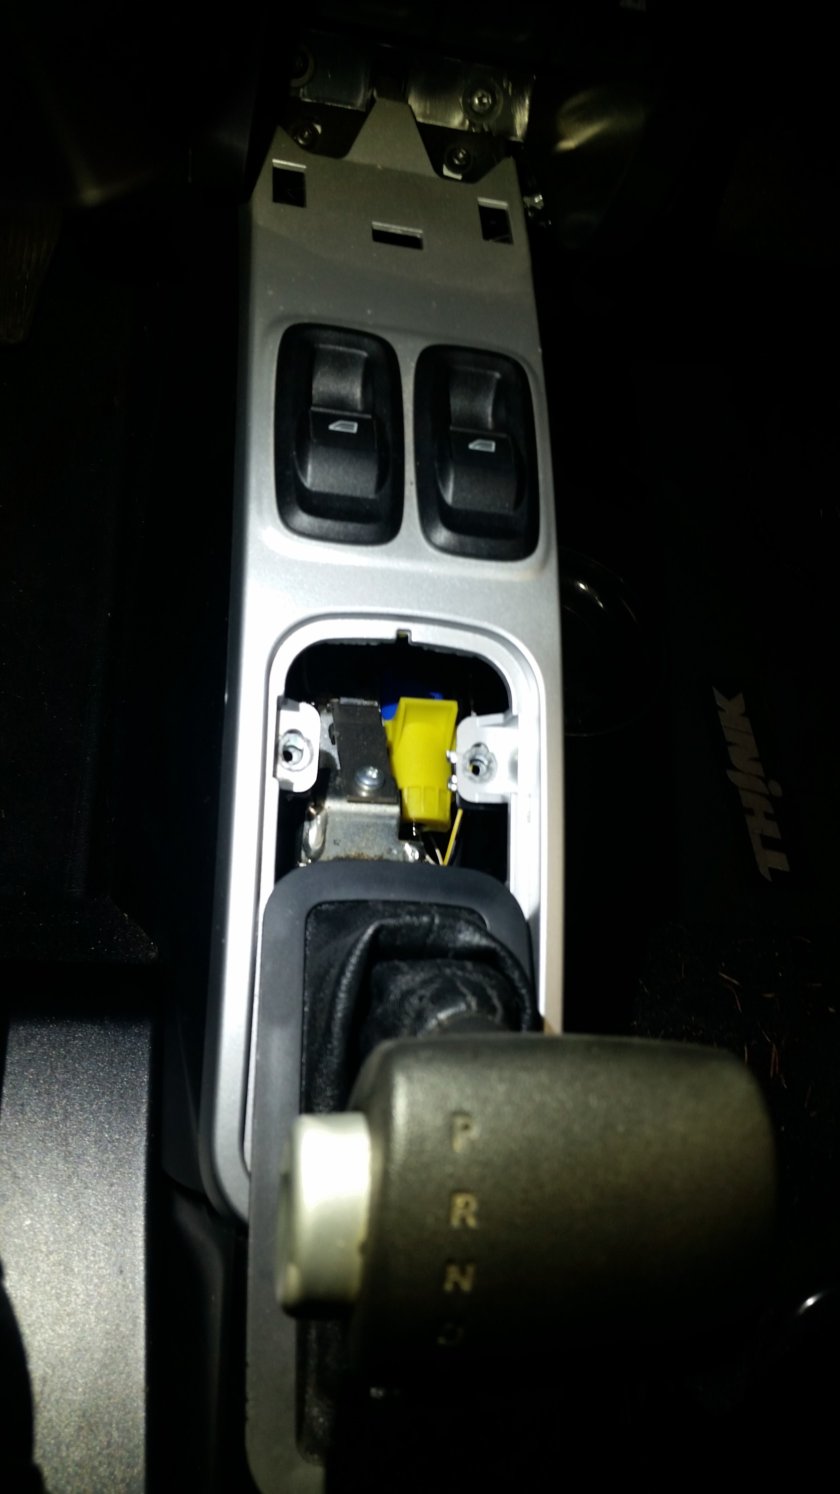
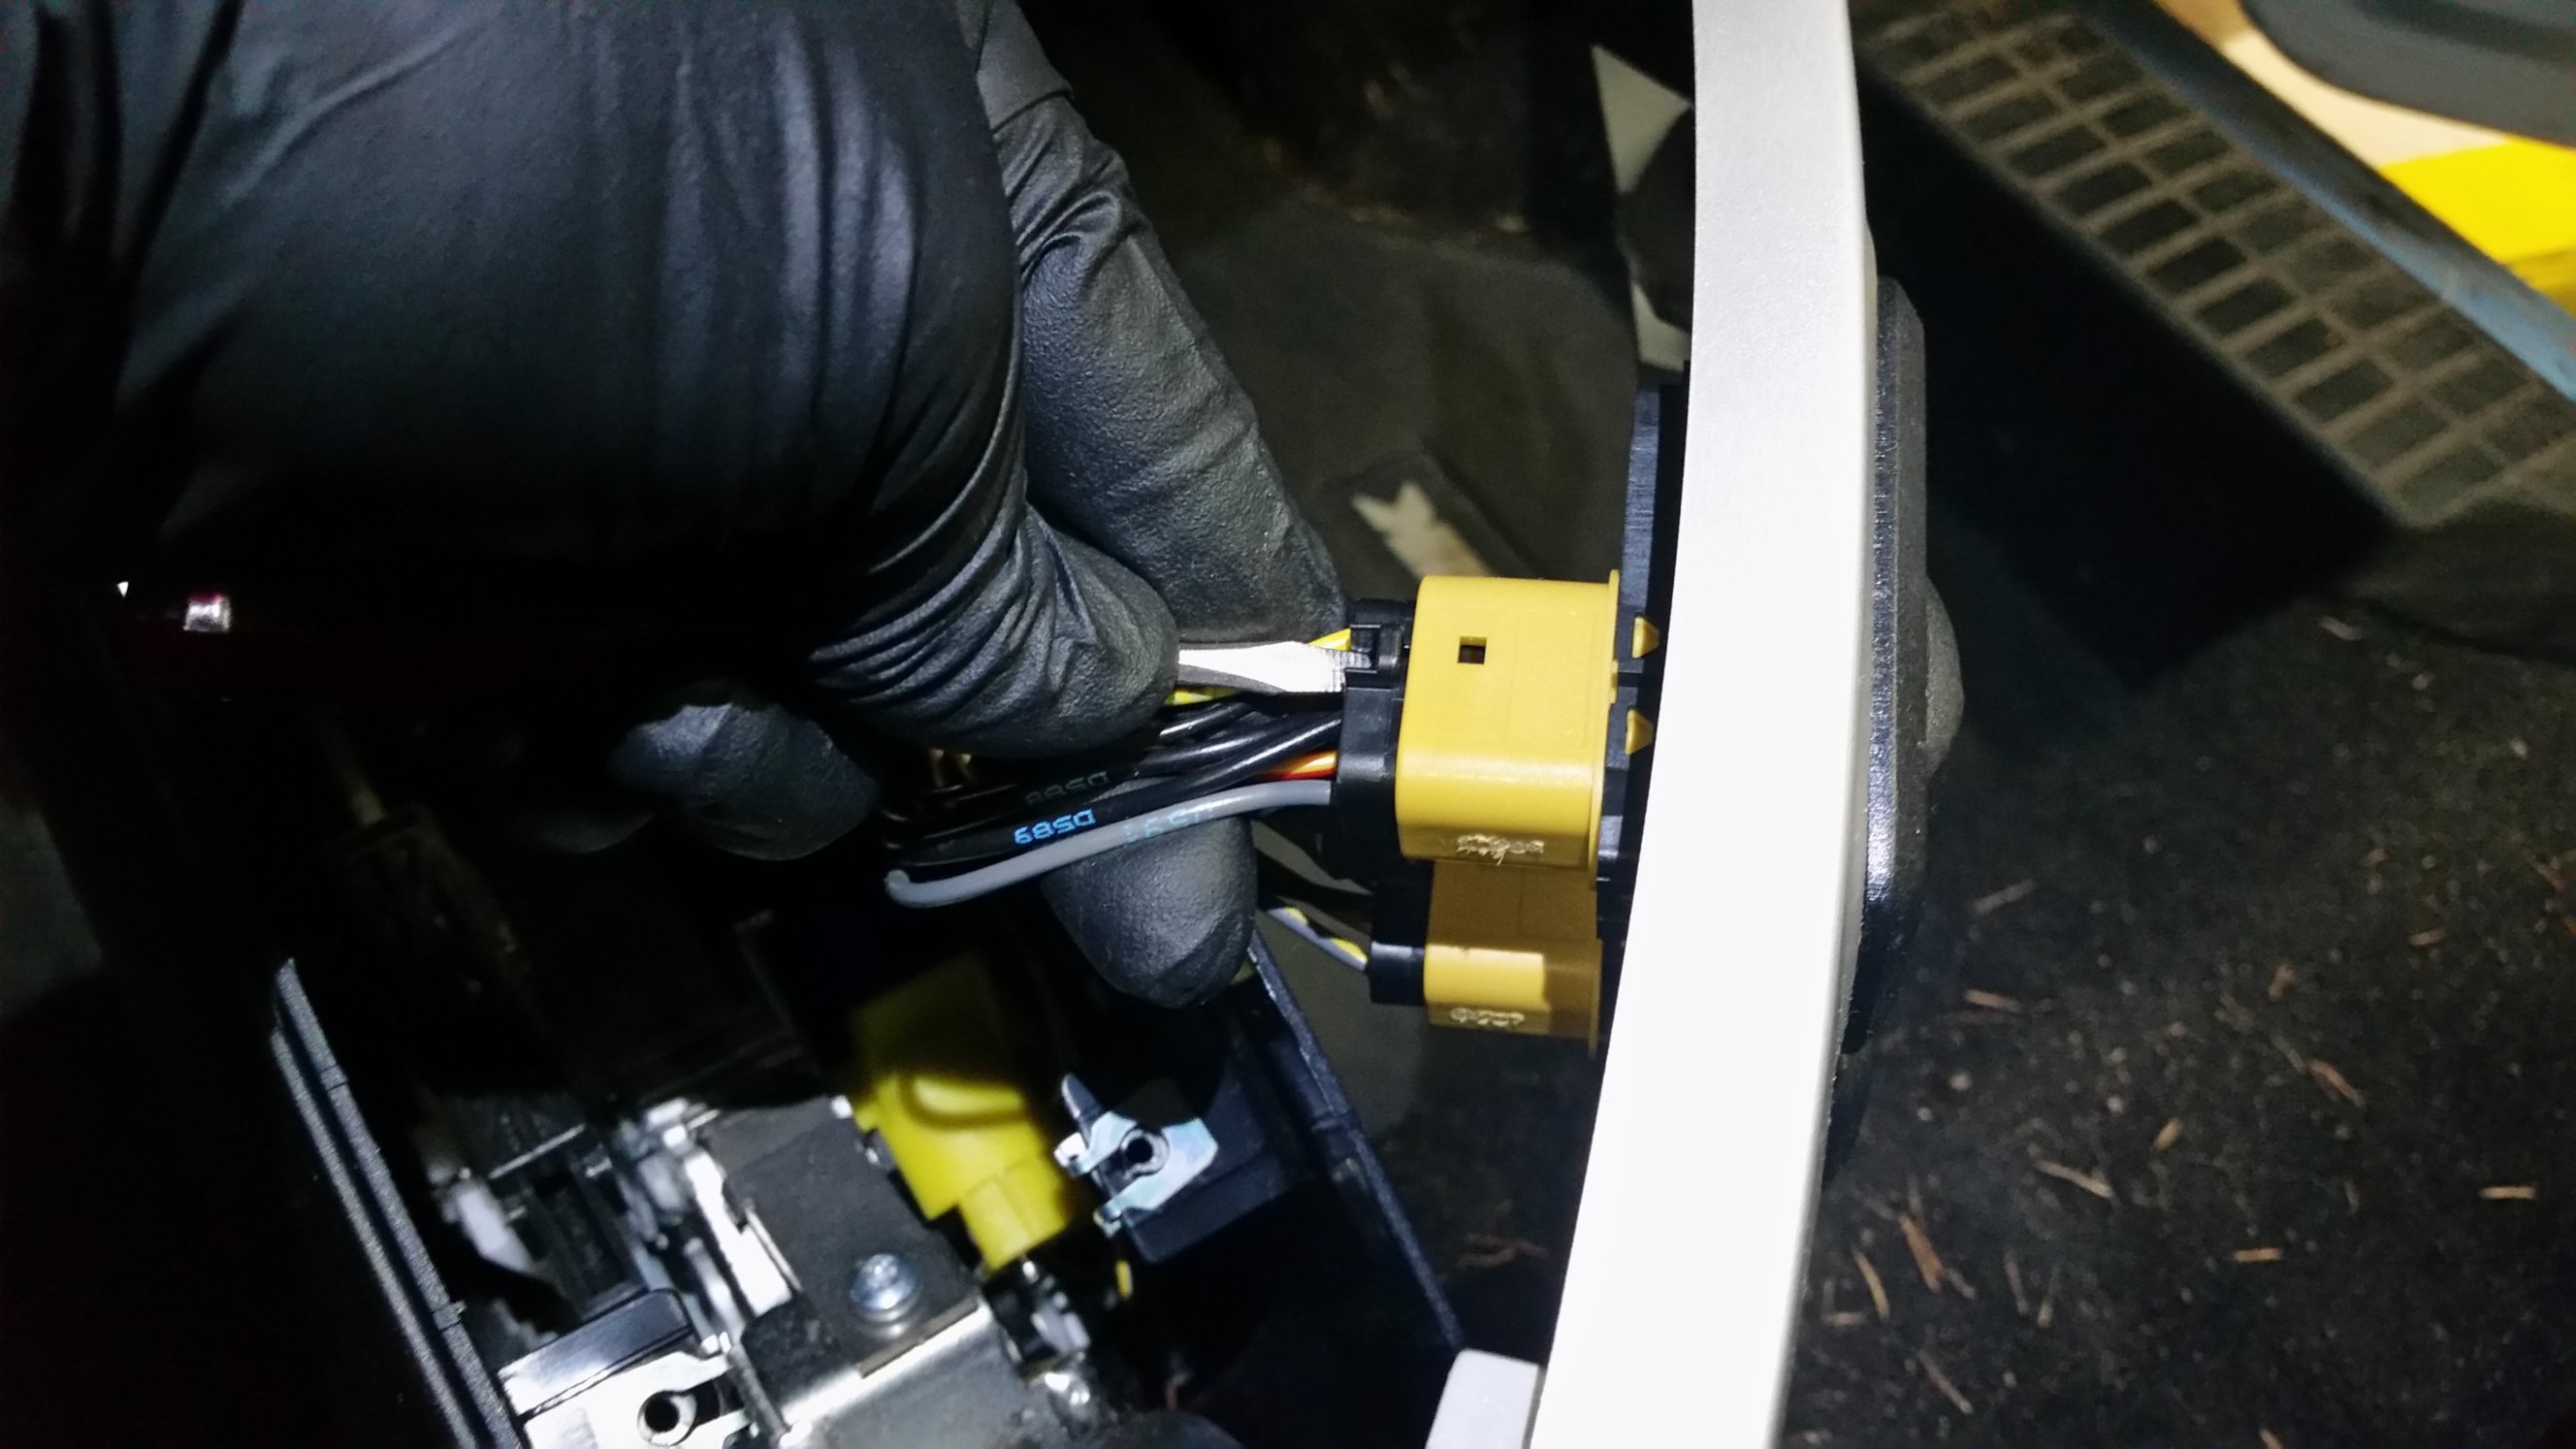
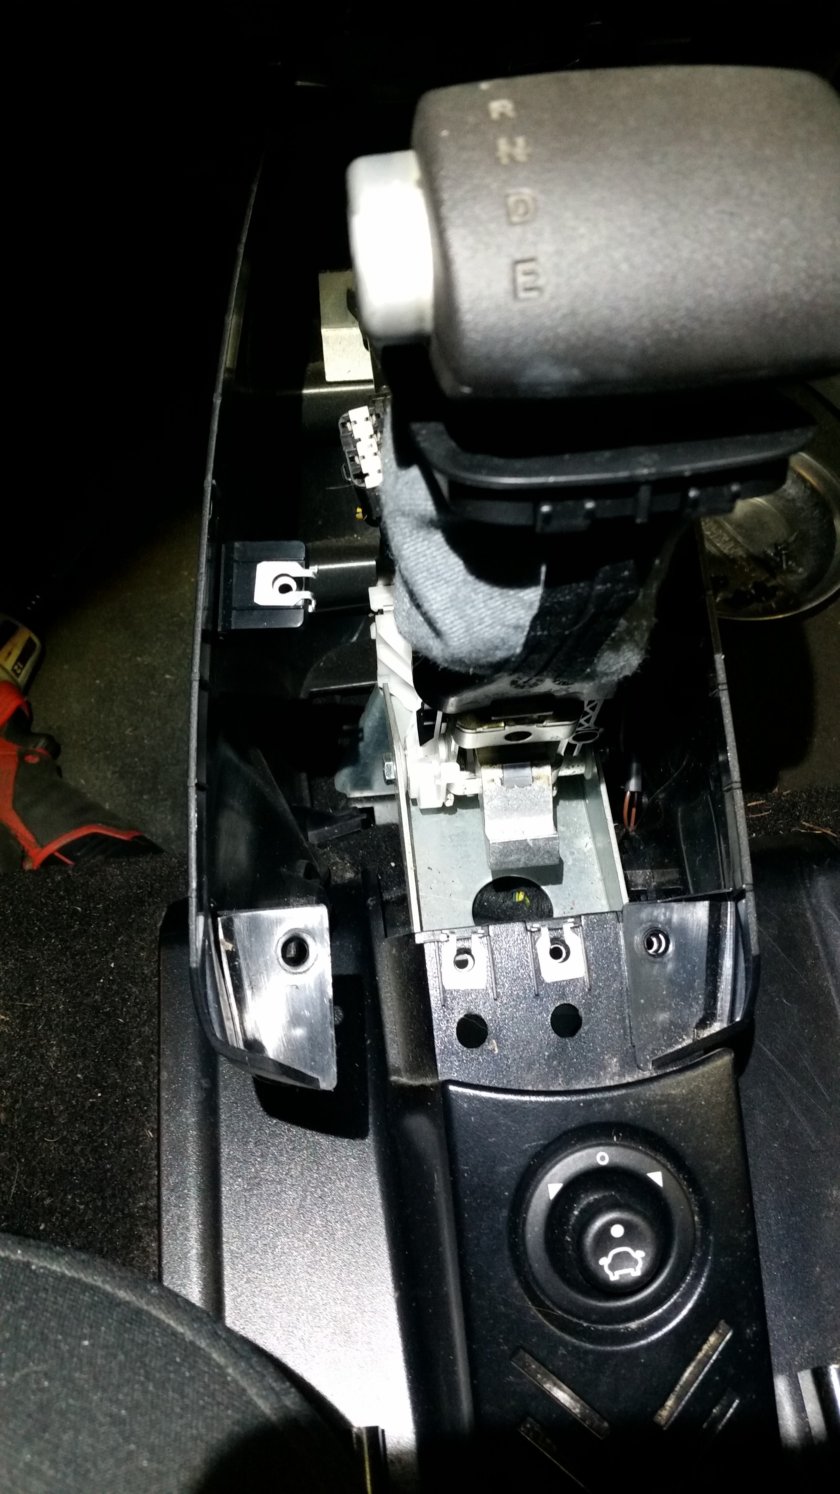
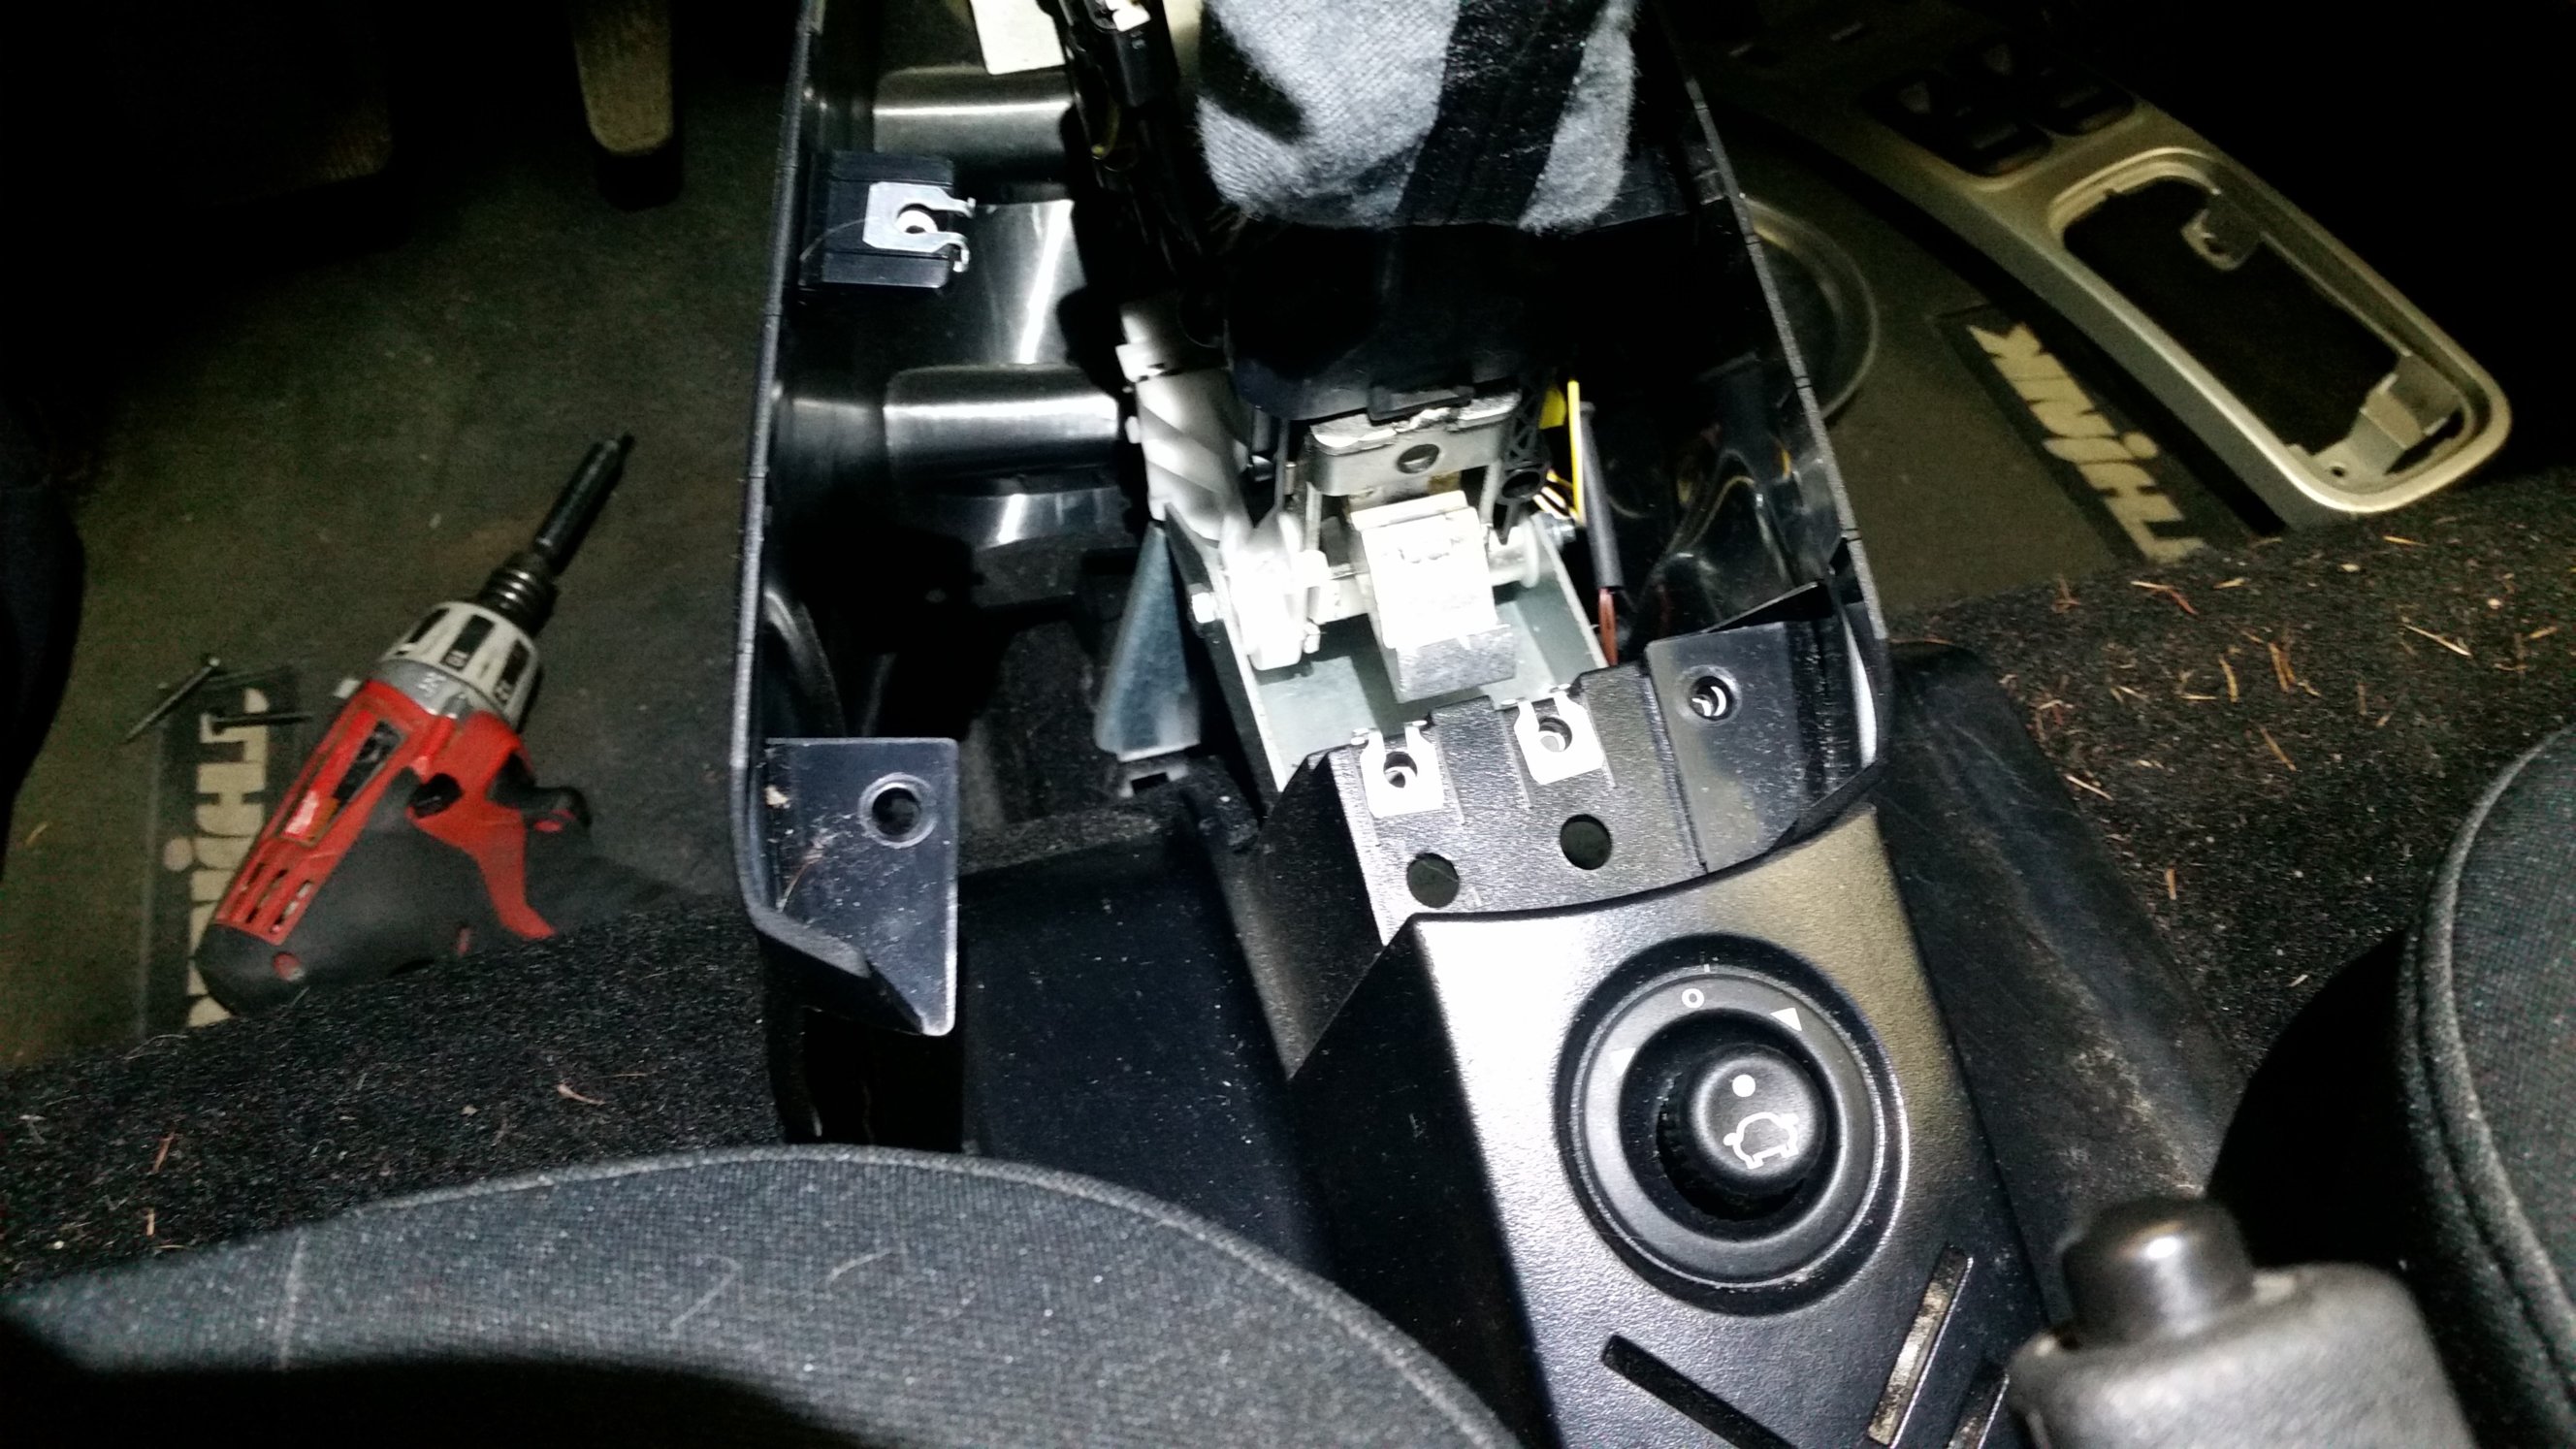
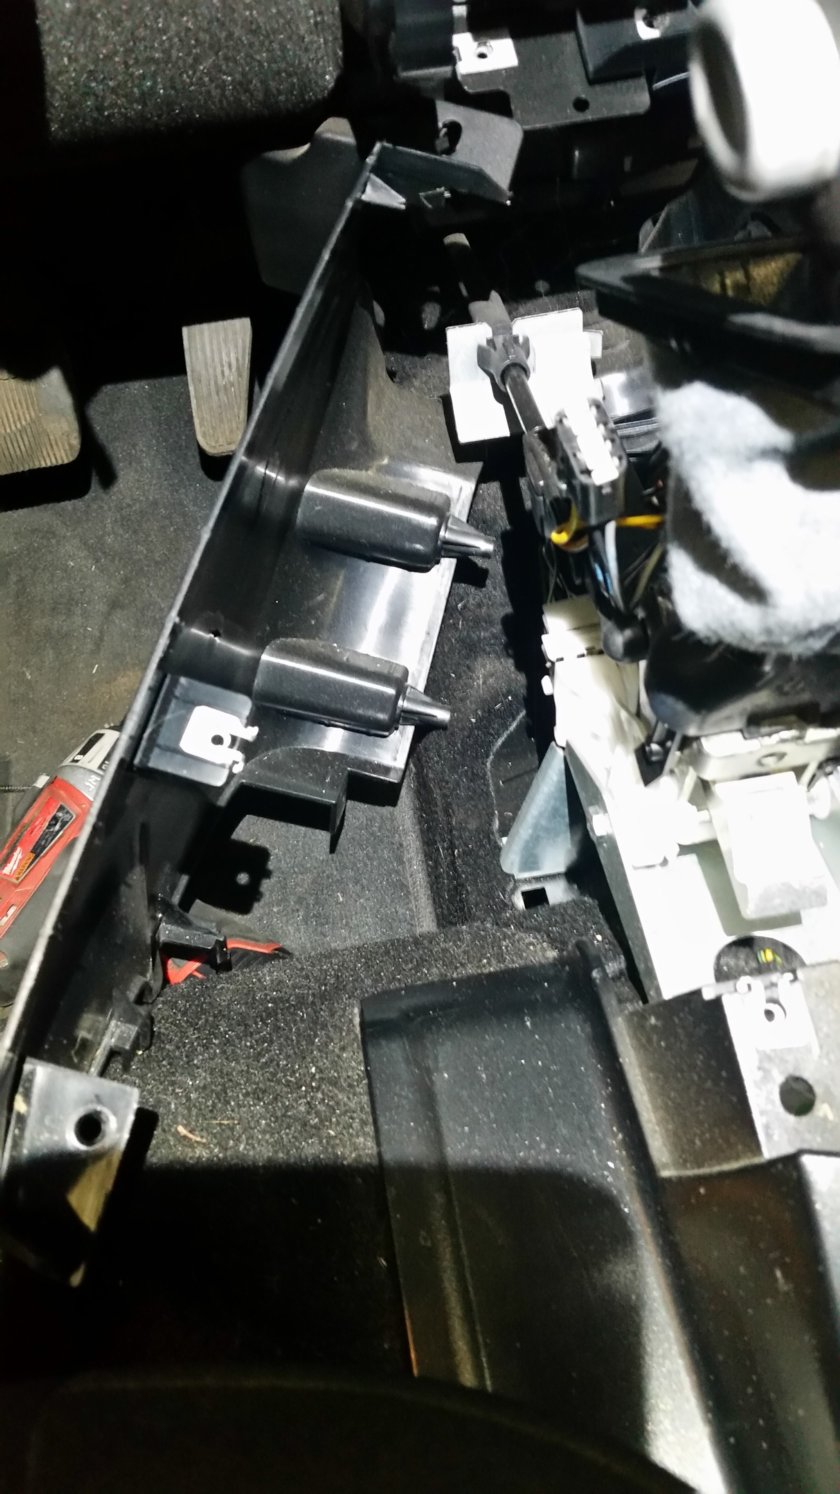
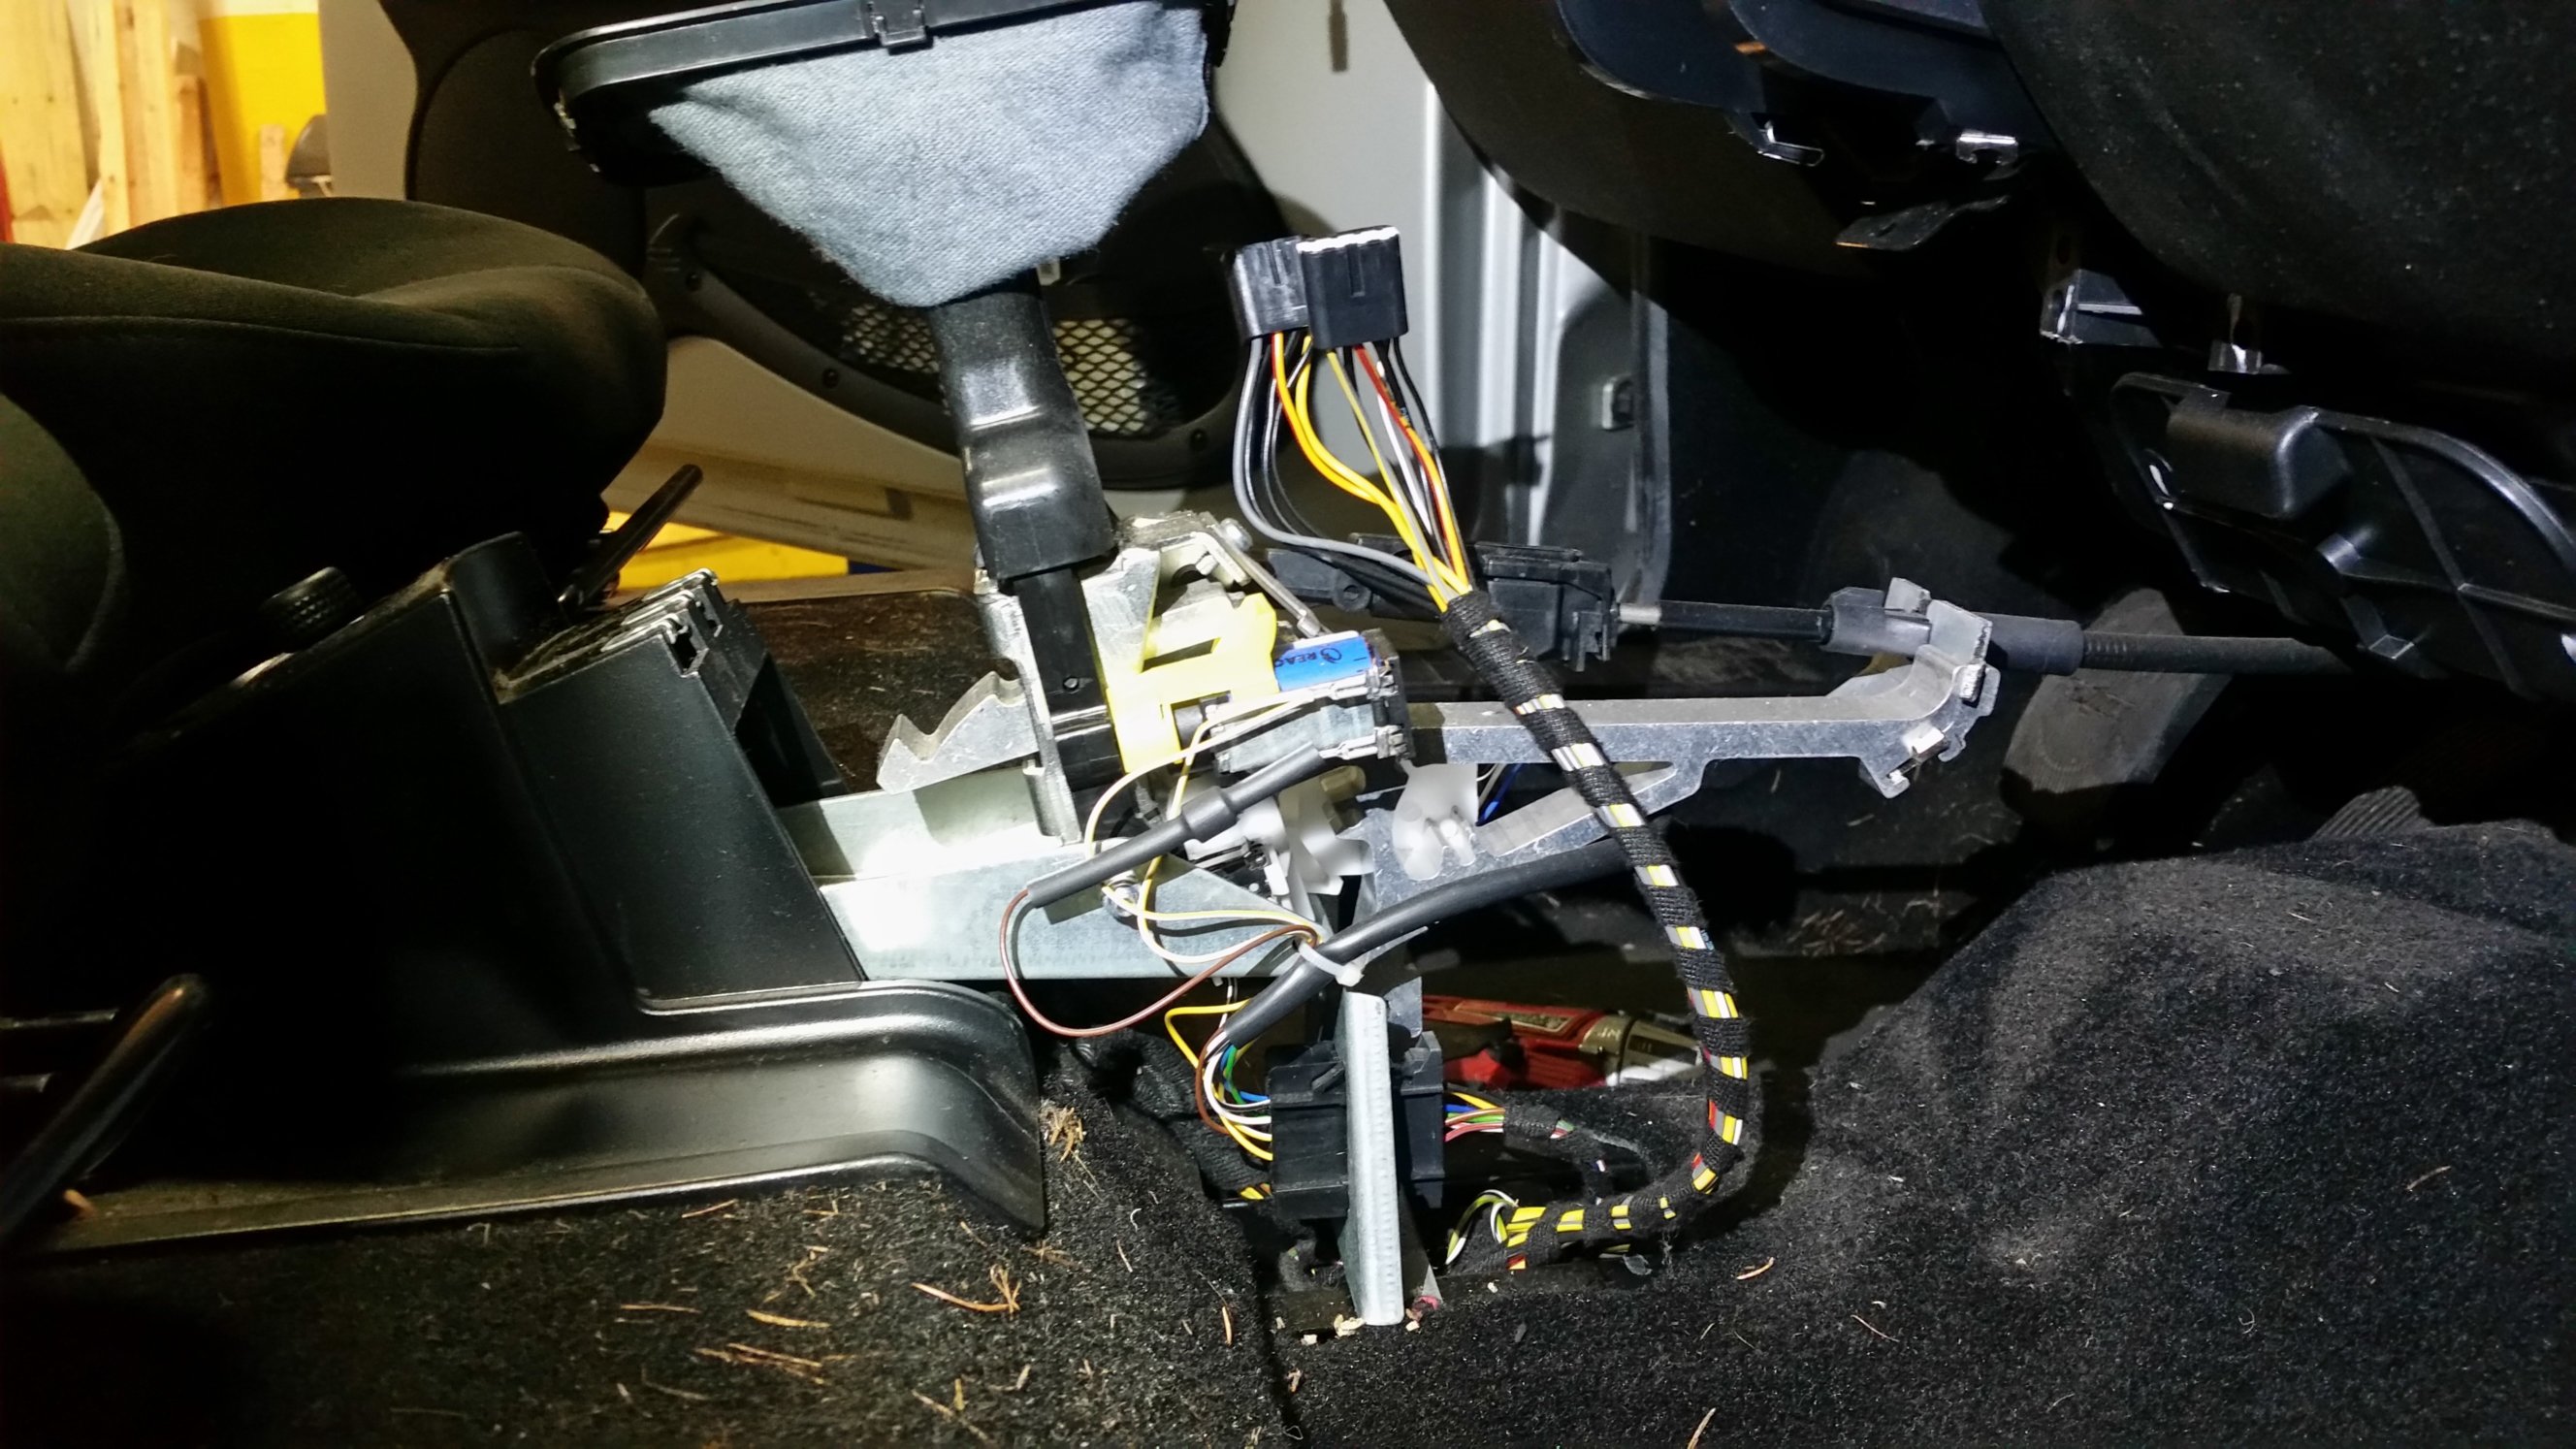
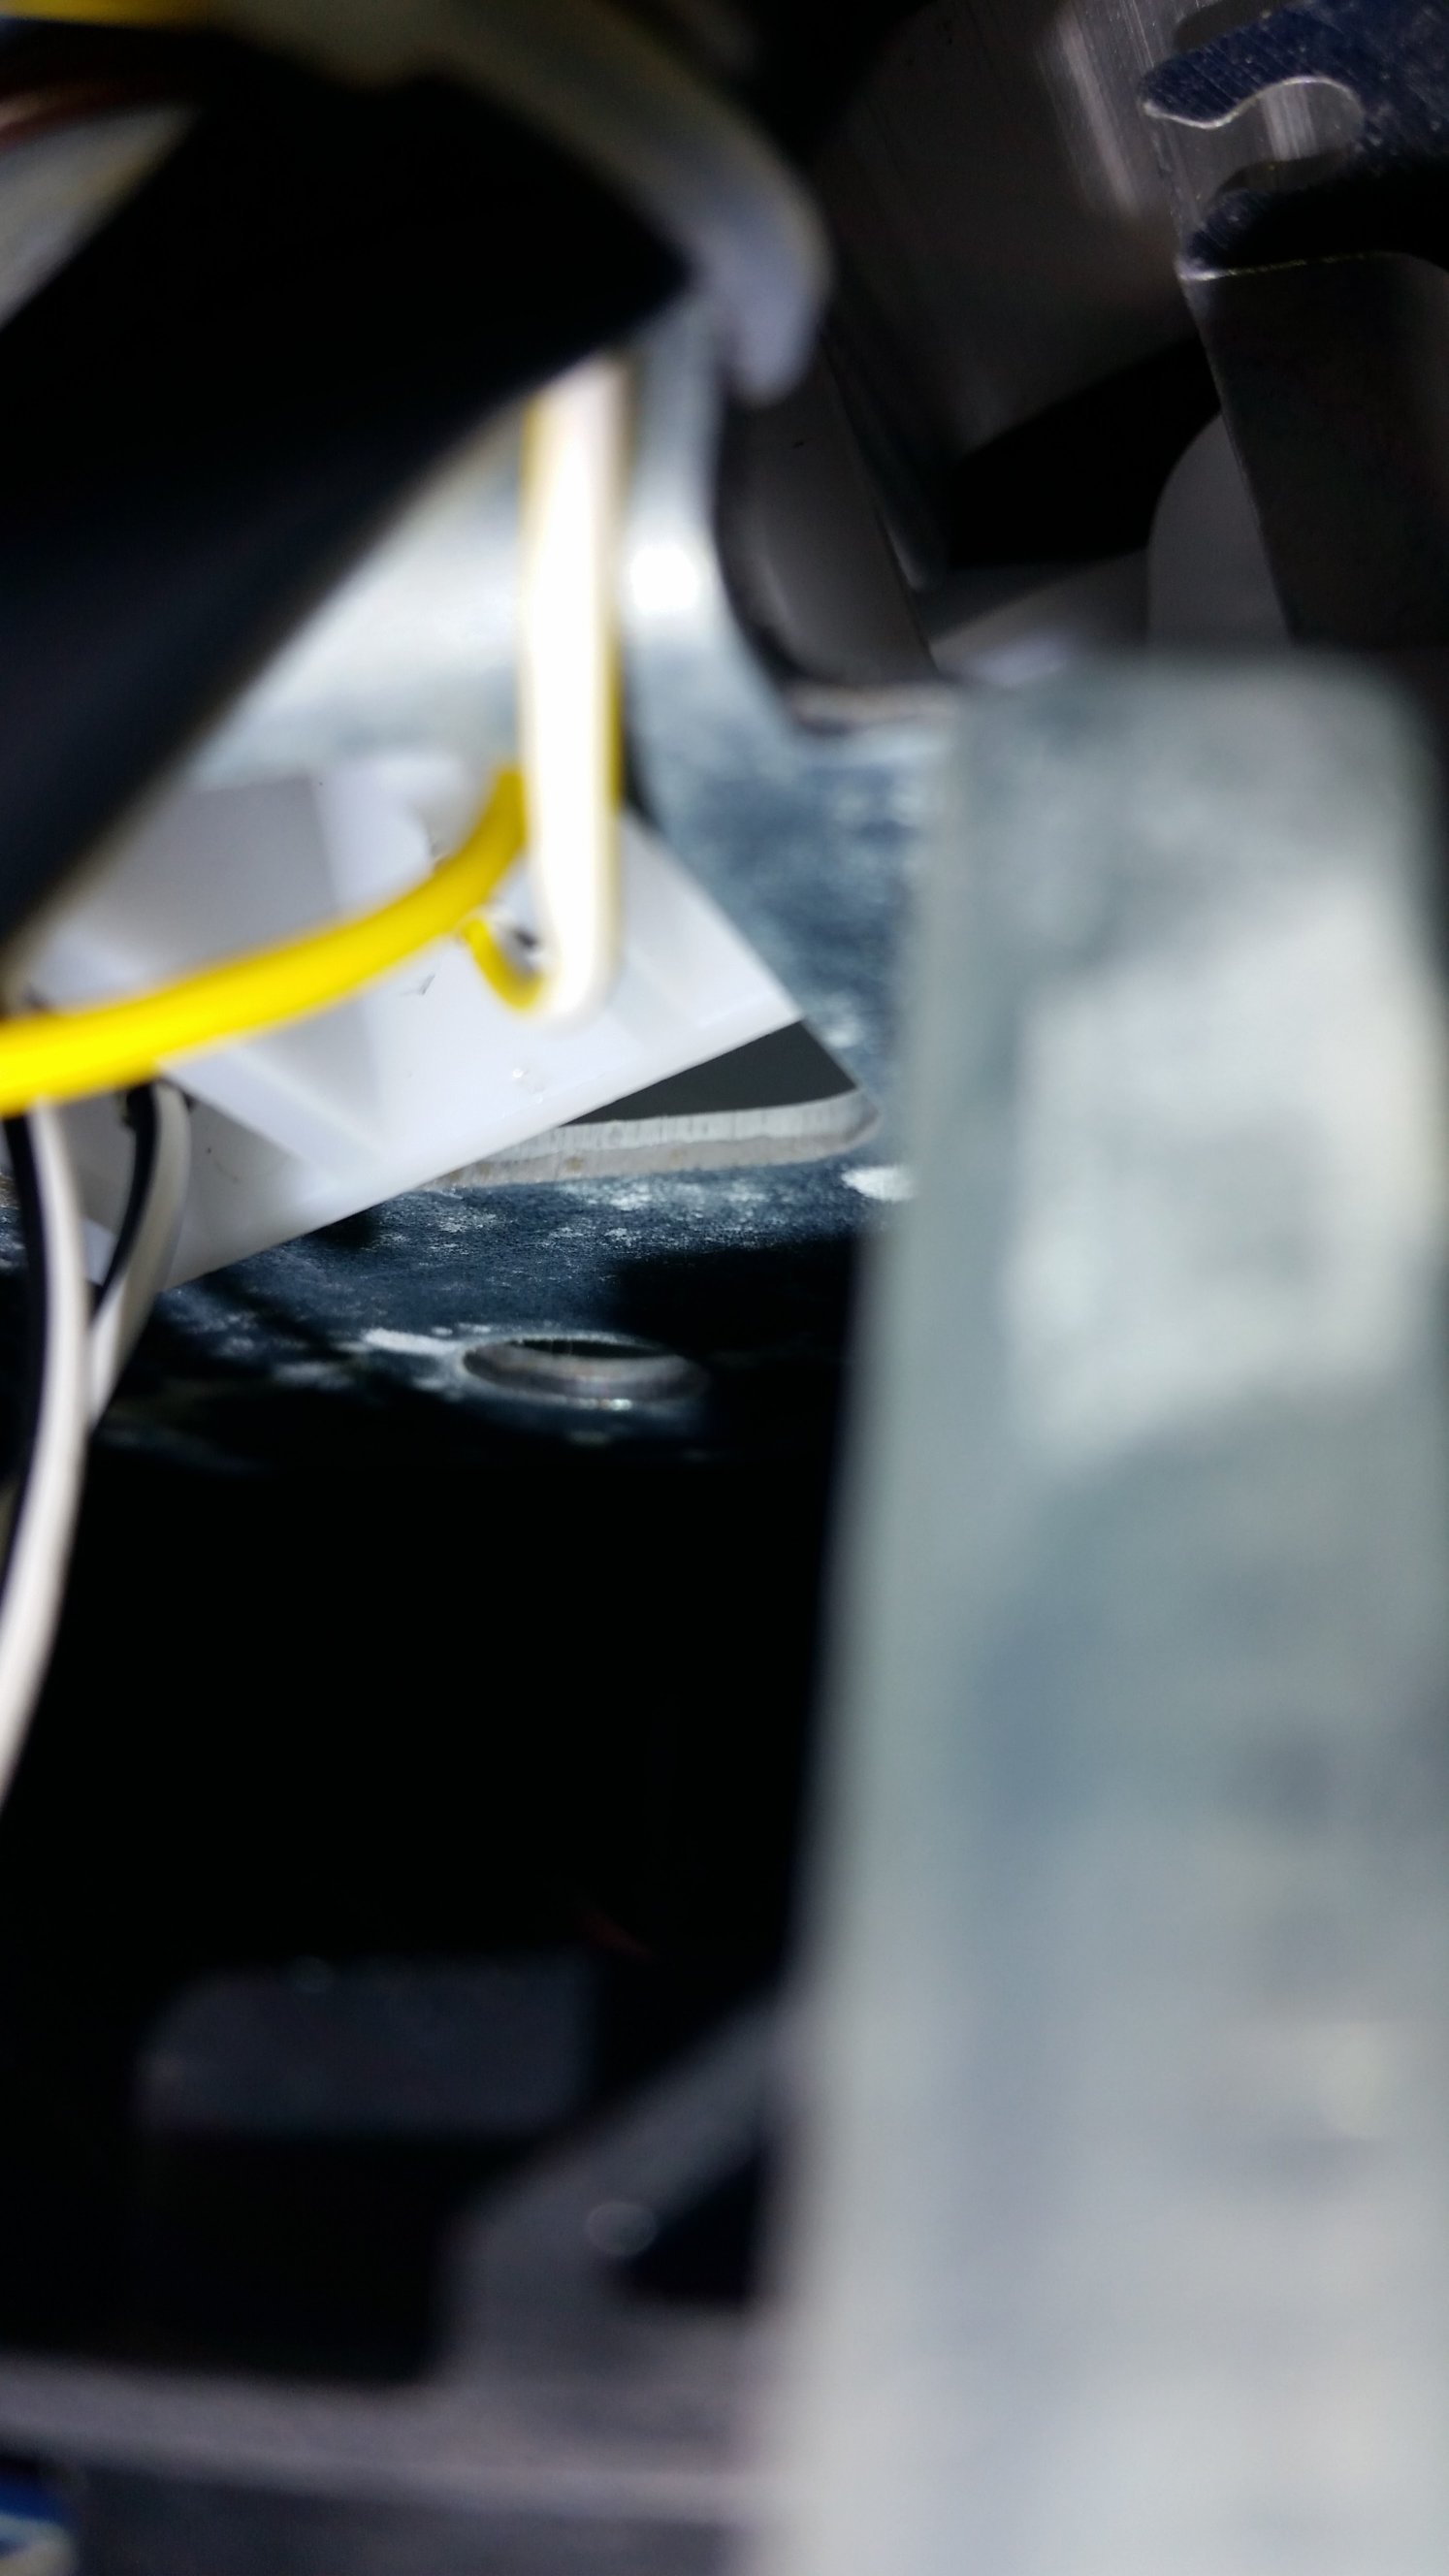
There are 3 microswitches stacked together on the left side of the gear selector assembly and 2 together on the right side. The one wiring characteristic that they all have in common is that the white/black wires (which are connected to ground) go to the pin/contact/terminal that is toward one end by itself. (These are Single Pole Double Throw switches, but each switch only uses one of its throws.) The 3 microswitches on the left are oriented such that these white/black ground wires connect to the terminals on top. The 2 switches on the right are much harder to see, and the white/black wires connect to the terminals toward the bottom/aft side of the switch.
Left side:

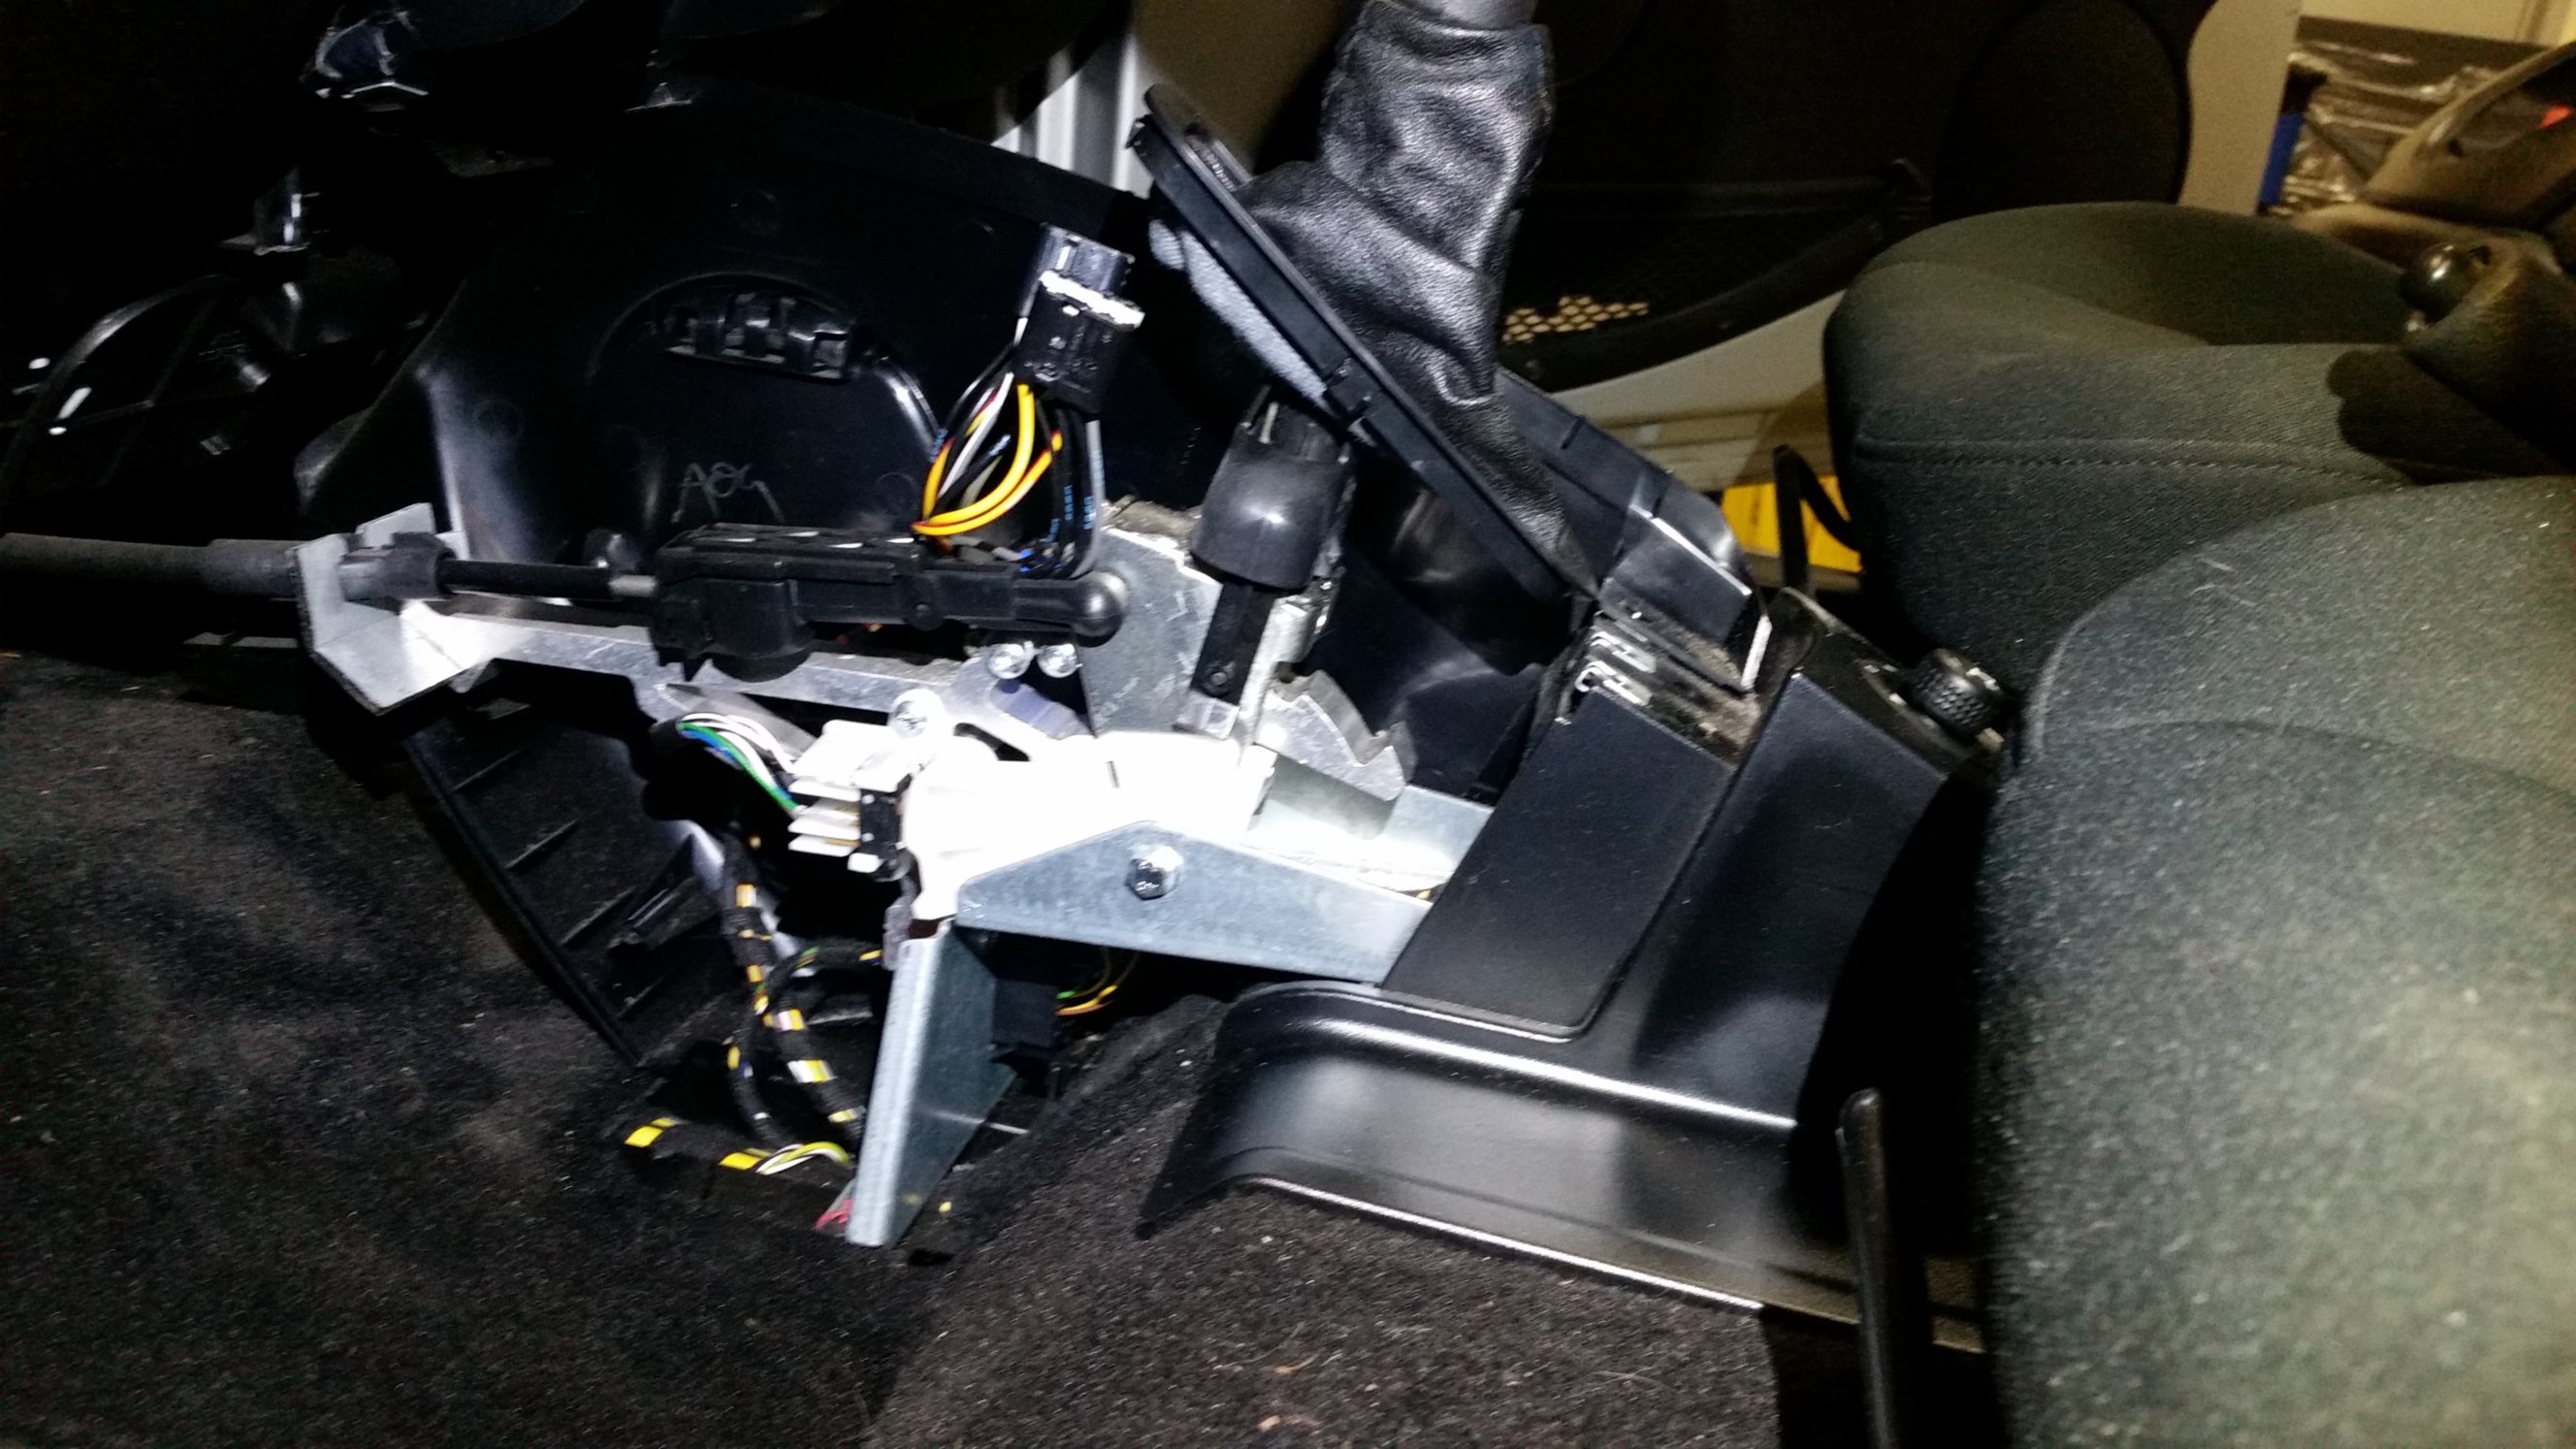
Right side:
(I know, I couldn’t get a very good picture of it…)
Of course you have to get all of the other wires on the correct terminals, too, or else it’s probably not going to work. (But who knows? Sometimes it’s better to be lucky than to be good!) Starting on the left side, from outboard to inboard:
- The green wire connects to the middle terminal.
- The white wire connects to the bottom terminal.
- The blue wire connects to the bottom terminal.
On the right side, from outboard to inboard:
- The yellow wire connects to the top/forward terminal.
- The yellow/white wire connects to the middle terminal.
If you happen to compare these wires to the colors on the circuit diagram they do not correspond. The wire colors on the circuit diagrams only go up to the 7-wire black connector that is mounted on the gear selector assembly below the blue solenoid. It would have been nice if the wires were the same color on both sides of the connector, but no such luck here.